Author: Bryce Holliss
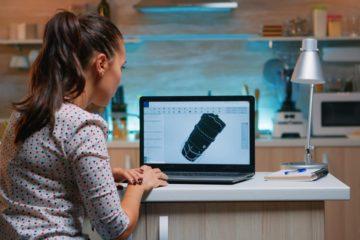
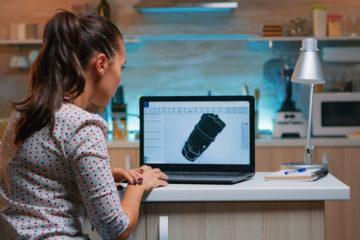
When you search ‘reasons for prototyping?’ online, you’ll often read things like ‘to validate your idea,’ or ‘gather user feedback.’ Whilst both of these statements are correct, they are also so general that they offer very little insight. Really, the reason for prototyping is dependent on what stage of the product development process you’re at. For instance, at the very start of the process, when you’ve only just come up with your product idea and done a few very rough sketches, if you do up a product mockup to visualise your idea we would call that model-making, not prototyping.
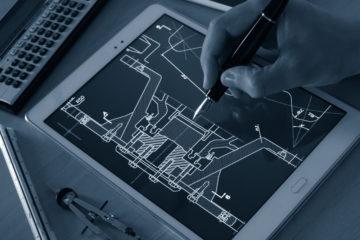
To prototype, means to develop the functionality, assembly, chosen material, and mechanics of a design; to look at the technical aspects of your product idea. At Dienamics, we offer both model-making & prototyping services, however, generally speaking, prototyping is a more worthwhile endeavor.
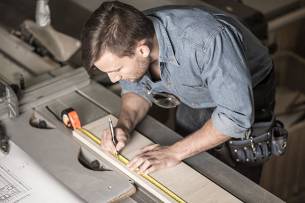
Model-Making
Sketch Models
 |
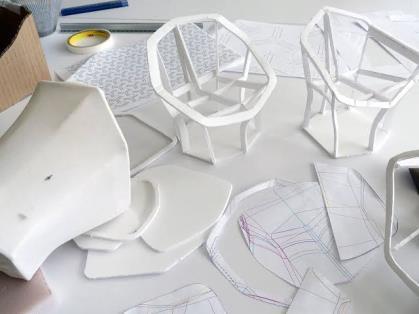 |
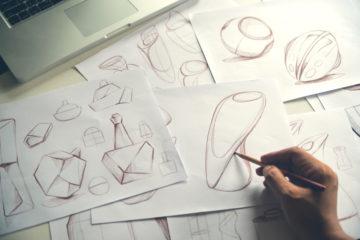
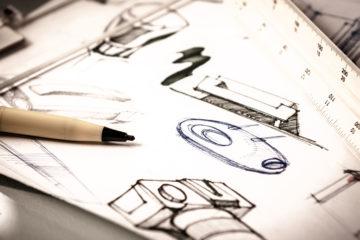
In any product development process, sketch modelling is the very first physical design mockup stage. Generally, people use foam to explore a product designs’ shape. You can use a marker to help show the products’ contours and form as well as indicate where buttons, dials, etc. will be located.
Design Development or Junk Model
 |
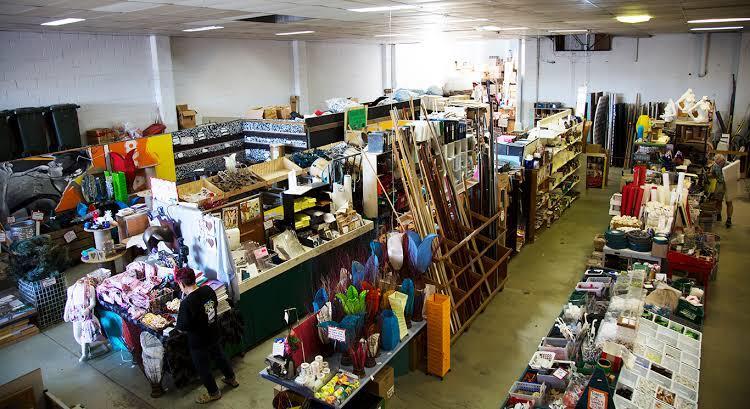 |
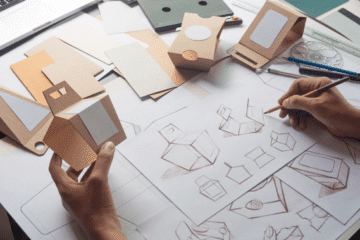
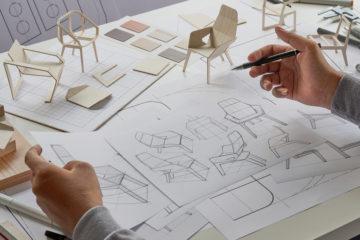
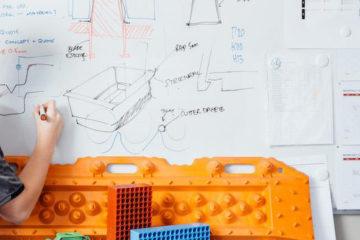
After you’ve figured out your rough product form, the next stage is to start exploring how different components might go together. This is still meant to be a quick, explorative tool so often it’s best to construct the model with things you’d find around the house – cardboard, buttons, plastic, etc. Stores like Reverse Garbage in Brisbane are great places to pick up random bits and bobs to use here.
Functional or Operational Model
 |
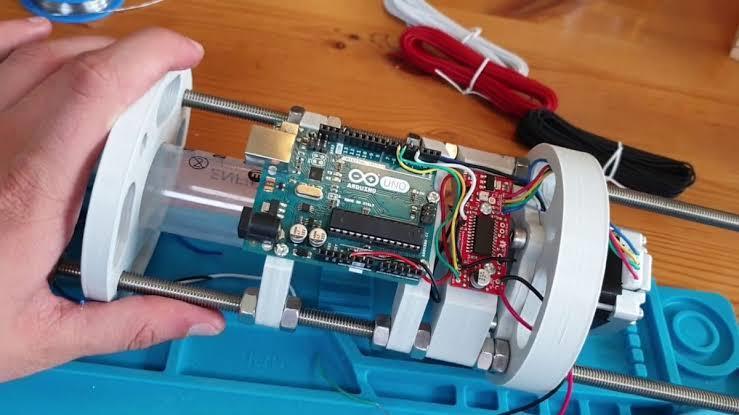 |
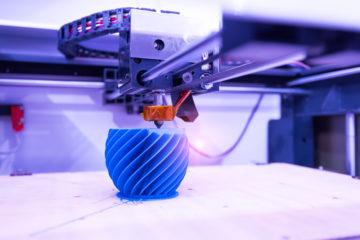
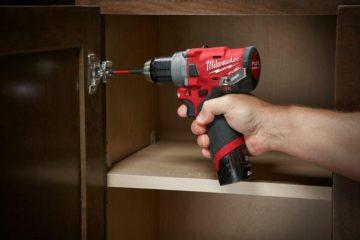
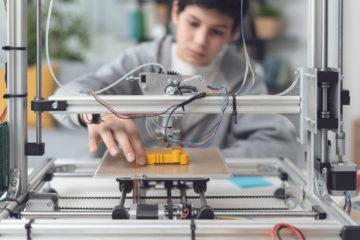
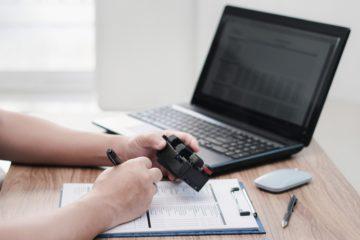
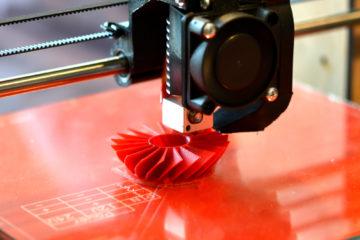
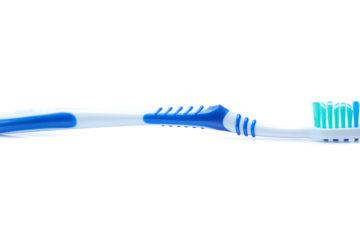
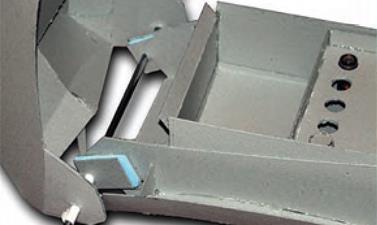
Functional or operational model-making is when you start incorporating the product’s electronics (if it has any) or mechanisms (e.g. hinges, latches, clips, etc.). Do-it-yourself electronics kits, like Arduino, are very useful here. This is about the last stage where a home 3D printer has a high enough fidelity to be useful.
At Dienamics, many of our clients come to us with ideas they’ve already put thought into; it’s common that when we initially meet they’ll already have done some model-making of the above 3 mentioned types. We ourselves use model-making to aid us when developing a product.
Appearance or Film Model
 |
 |
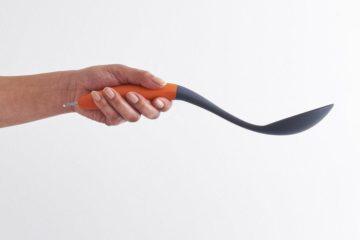
This is the final type of model-making we’ll mention. This is a high fidelity, refined, and often non-operational or solid model. You make appearance models to display exactly what you want the final exterior of the product to look like – mechanical performance of the design & the material you use to make the model don’t have to be the same as the final manufactured product. Most of our customers would not have the capacity to make appearance models themselves.
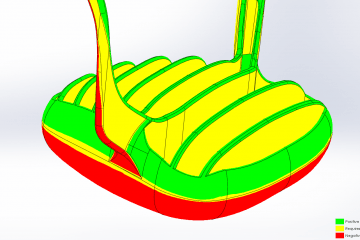
People would request appearance models so that they can use them in marketing materials such as photoshoots for crowdfunding campaigns (like Kickstarter) or for promotional videos. Appearance models are usually manufactured using prototyping processes such as CNC machining, SLS printing, or vac-casting so that correct colour, texture, and finish can be achieved. CAD data is required for this however because designing for manufacture (DFM), or considering product internals is not important, as the modeling is done for it takes less time. Appearance models & the CAD generated for it is not then useful when continuing on to prototyping, tooling, and manufacturing.
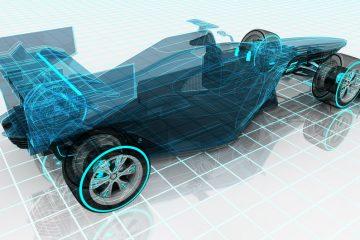
Prototyping
Experimental Prototype or Prototype Zero
 |
 |
After all your sketching & model-making the CAD designs for your product have been finished to a stage where you think it is ready; your product has a lot of moving parts and is also being fitted with electronics that you’ve had developed by a software & electronics engineering company. This is when you’d manufacture a prototype before the initial/alpha prototype. You only do this if you’re unsure of how to proceed – if you are unsure if you need to change the electronics design, change the product housing design, swap around the moving parts you’ve used (e.g. change the living hinge to amortise hinge), or simply unsure if the product will get consumer support.
For some projects, the electronics determine the housing and for others, the housing and product aesthetic determines the electronics. For a project where the housing is the primary, you’d focus on prototyping it and then not worry so much about the appearance of the electronics and more about their functionality; or vice-versa. Experimental prototypes are just a quick way to test and see if everything is coming together correctly
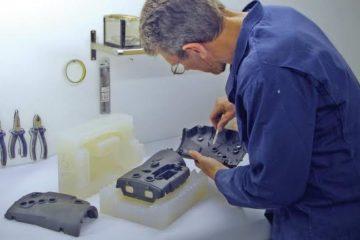
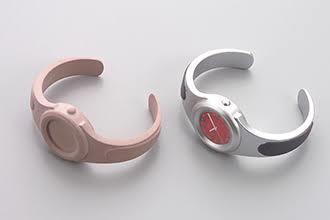
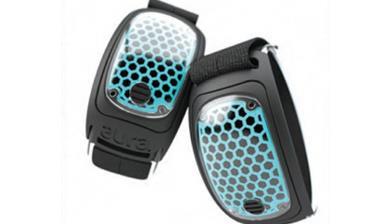
Alpha/Initial Prototype
 |
 |
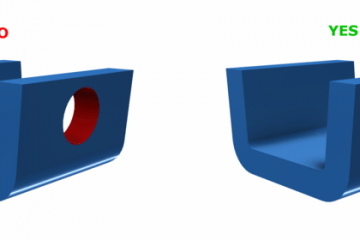
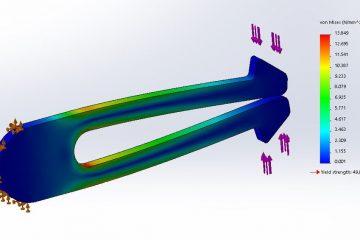
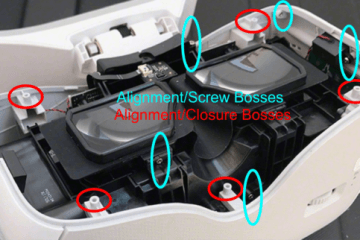
An alpha/initial prototype is the first time you bring what you hope to be the final elements of aesthetics and functionality together. You make this prototype with the hope that everything you’ve designed is 100% perfect and ready to be manufactured. Of course, that is rarely the case. An alpha prototype is the first time you get to tangibly test your assembled product design – you actually make an initial prototype with the hope that you do find issues because if there are any, the sooner you find them the less it’s going to cost.
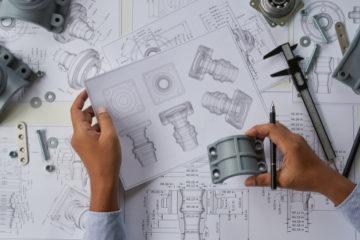
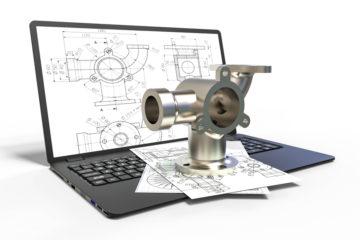
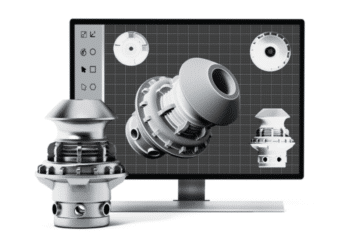
For an initial prototype to be successful, the product’s CAD drawings have to be designed for manufacturing (DFM). If your product uses springs, bolts, nuts, etc. this means knowing exactly which ones you’ll be using (and then utilising them in the prototype). Alpha/initial prototypes have to be high fidelity. They should be as close to what the final manufactured product material would be and the mechanical properties it would have,
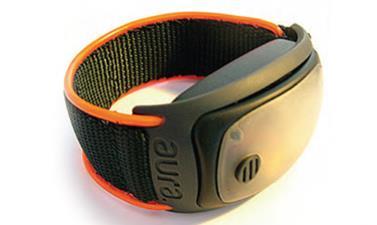
Beta Prototype (& Onwards)
 |
 |
If changes are made after the initial prototype to fix issues or improve the design a second or beta prototype is then required. You do this to double check that the changes are correct. You continue this process and continue to manufacture prototypes until you’re completely happy with the design. Though this may seem expensive, it is still cheaper than going to tooling or manufacturing and then needing to make major changes. In the case of injection moulded parts this would mean expensive tool modifications or having to build a completely new tool. Like we mentioned in Issue 1 of this blog series, if a product could be taken from a 3D CAD drawing straight to a final manufactured, ready-to-sell, product the R&D industry would not exist.
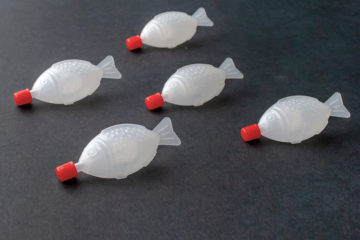
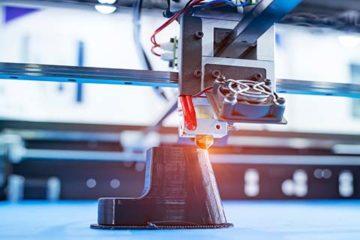
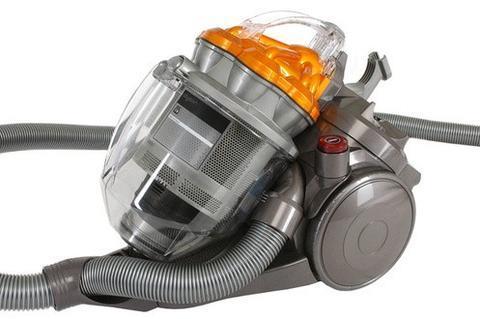
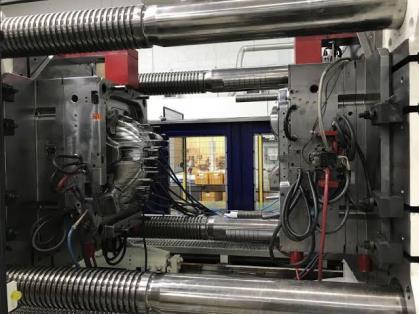
High Volume Prototypes
|
 |
 |
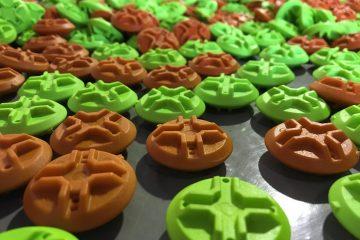
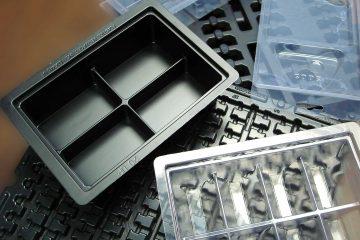
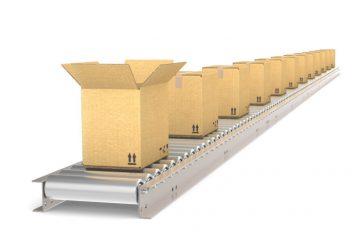
With all prototypes you should be seeking user feedback and doing some level of strength, durability, etc. testing. However, it’s hard to get reliable data if you aren’t obtaining a lot of it. High volume prototyping allows you to send products out to your consumers and obtain a lot of data quickly. For plastic products, there are a few different ways to manufacture prototypes in high volumes. Vac-casting can be used if you’re only after the 10-25 products. If you want more in the 1000s, rapid tooling or single-cavity tooling is the way to go.
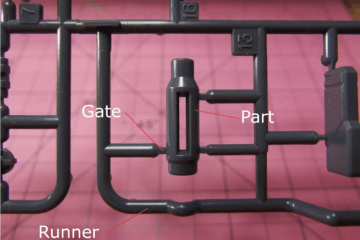
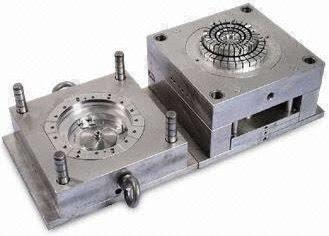
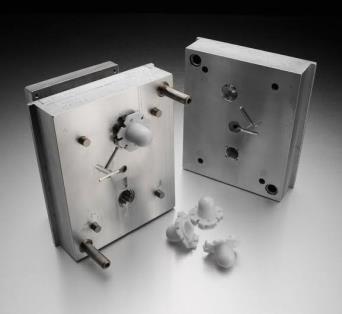
Single cavity tooling allows you to make one product per injection of plastic. Most tooling has multiple cavities so that you can make multiple parts at the same time – thus having only a single cavity is a smaller and cheaper tool. Depending on your consumer demand sometimes all you need to manufacture your product completely is a single cavity. Some overseas injection moulders offer what is called rapid tooling. Rapid tooling involves making an aluminium mould insert of your product that then fits into a bigger mould base. The aluminium insert doesn’t last as long as other tool steels and generally that aluminum tool is scrapped once you have done a moulding run with it. Both rapid and single-cavity tooling are ways of producing final manufactured parts. They’re called prototypes because whilst they are final manufactured parts they do not use a final manufacturing process.
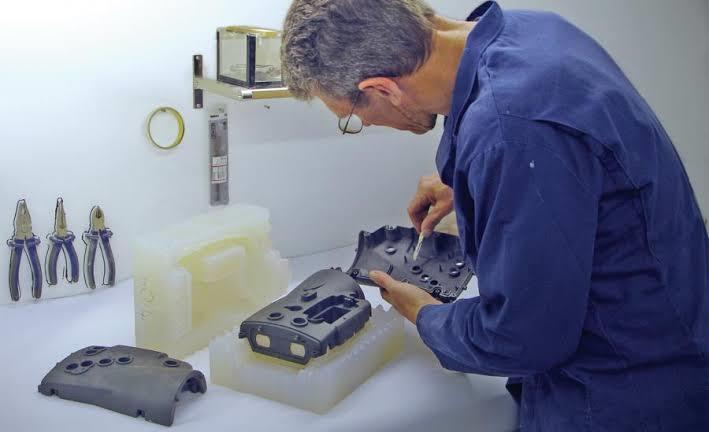
Production Prototype or Off-Tool Sample
 |
 |
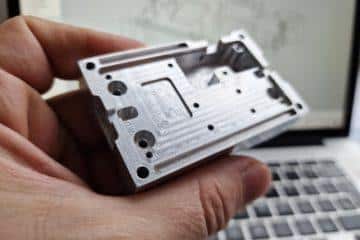
Once you’ve finished all prototyping, user testing, and design modifications you’re then ready to move onto tooling and manufacturing. After the tool is built, an initial moulding run is then conducted to test the tool. The products produced from this run are called production prototypes or off-tool samples. Even then, changes to the tooling are sometimes still needed. This is normal because even after you’ve prototyped your design the final injection moulding manufacturing process is different to any prototype manufacturing process and as such produces parts that aren’t 100% identical.
Need A Prototype?
If you have a marketable idea that is ready to be tested and turned into a product, prototyping is a step you can’t miss.
Dienamics has you covered for all of your Product Development & Prototyping needs.
For rapid or 3D print prototyping that is right for your product, talk to our team to see how we can help you.
Subscribe to Our Newsletter
Get the latest news from Dienamics into your inbox