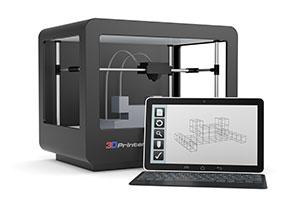
Part 5 – SLS 3D Printing
In Part 4, ‘User Testing and Research,’ we talked about the importance of the user testing and research phase of making your prototype. In this edition, SLS Printing, we’ll look at the considerations for the process, step by step.
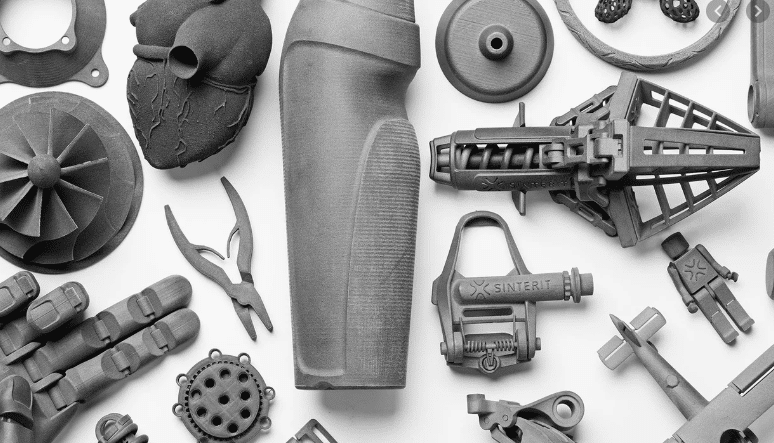
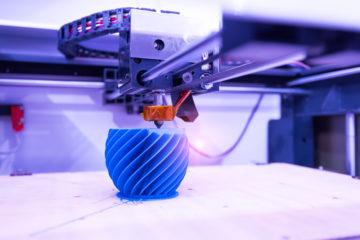
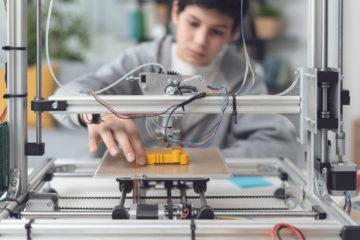
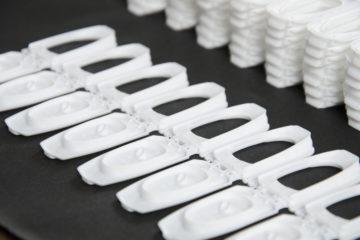
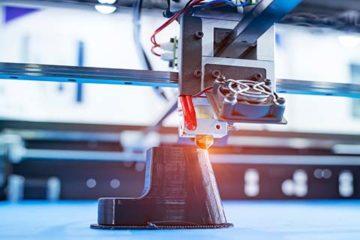
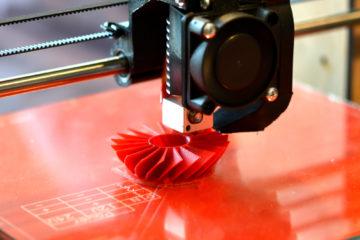
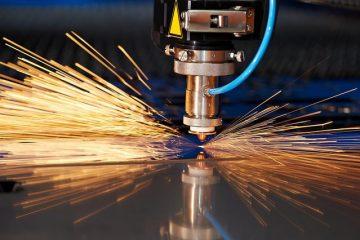
Originally developed back in the 1980’s, Selective Laser Sintering or SLS is a 3D printing technique that works to build a 3D object by selectively sintering layers of material granules (powder) together with the sintered layers beneath.
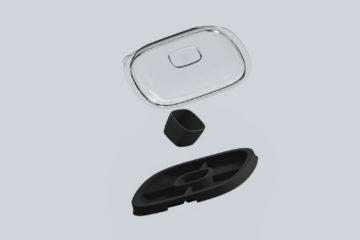
Unlike Fused Deposition 3D Printing (FDM) – which is the technology most home 3D printers’ use – SLS printing does not require support structure because as the object is formed it is fully supported by non-sintered material powder.
Use
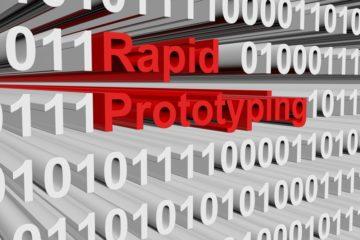
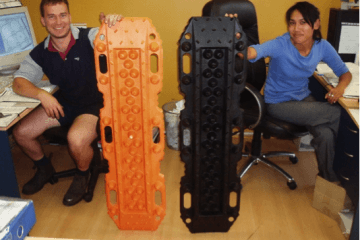
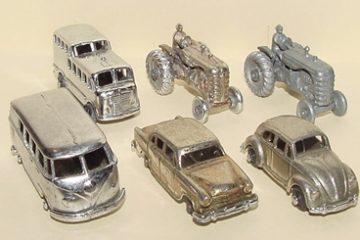
SLS printing is perfect for small batch prototyping – anything from a single prototype, up to batches of 5 or even 10. If you’re looking at producing prototype batches of 10+ or up to 25 components, vac-casting may be a better option.
Outside of rapid prototyping, SLS printing has two other uses – limited run manufacturing and complex/impossible geometry printing:
- Limited Run Manufacturing
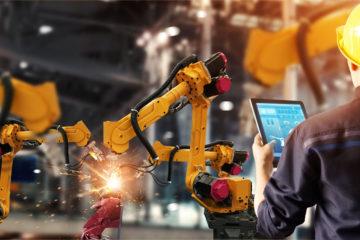
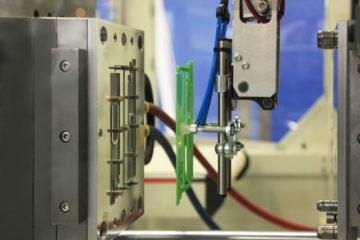
- Industries that require specialised, low volume parts (such as aircraft manufactures) will sometimes use SLS printing to create products for everyday use. They do this because if only a couple specialised parts are required quickly, it is likely that it isn’t viable to produce tooling or do injection moulding runs.
- Complex/Impossible Geometry
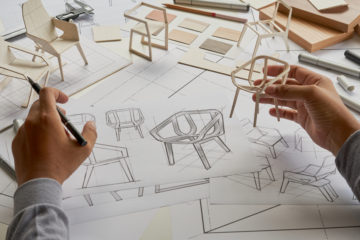
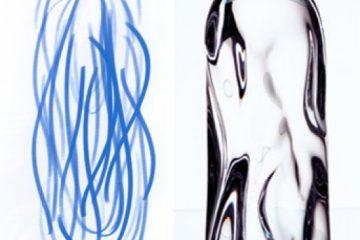
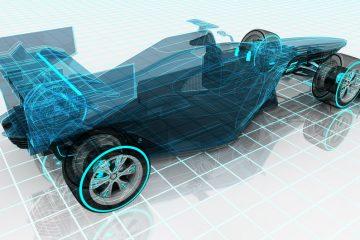
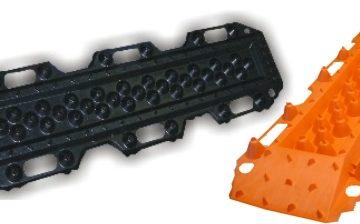
- SLS printing (& most other additive manufacturing/prototyping processes) afford designs to be successfully prototyped even if they aren’t actually suitable for final manufacturing process. Complex geometries such as undercuts & nesting can be SLS printed yet can’t be injection moulded. You need to be cautious and ensure that the designer working on your product has expertise in manufacturing – there is no point designing and prototyping a product for it only to be redesigned when you go to tooling & manufacturing.
Quality
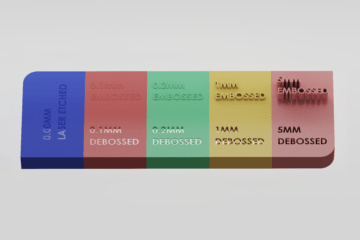
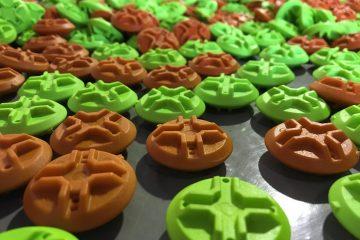
Layer thicknesses range between 0.06 and 0.15mm. Being made from material granules, the surface finish of SLS parts is porous. To get a completely smooth part, post-print filling, sanding and painting is required.
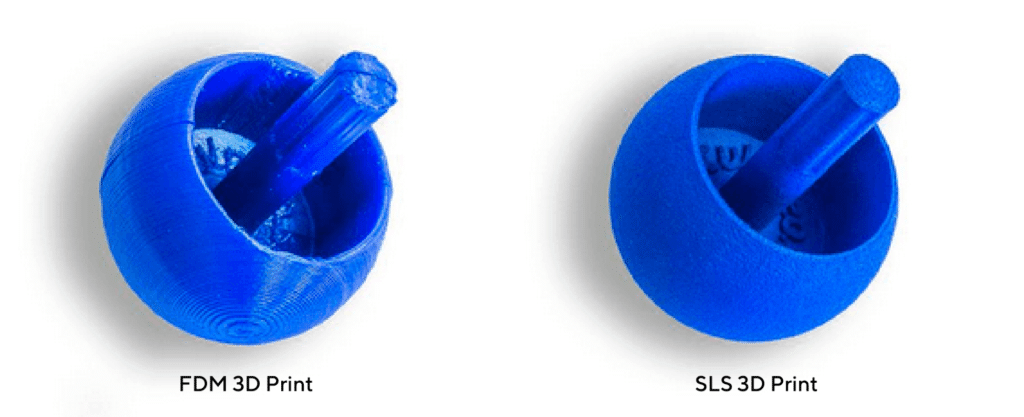
In comparison to other 3D printing techniques, the surface finish and mechanical properties of SLS are superior. Because support material is not used, the surface finish of SLS printed objects isn’t damaged by its removal, as it is with FDM 3D Printing.
Time
SLS printers work at approx. 50mm/hr. Conversely, FDM 3D printing can be faster at 50 to 150mm/hr. Whilst FDM can be is slightly quicker, SLS prints still have a short lead time of between 1 to 4 days.
Materials & Cost
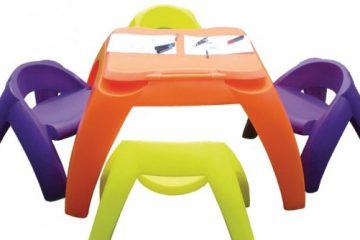
Because support structure is not required, material is not wasted – saving money. The materials used in SLS have to be powder-able polymers. Coincidently, these materials, such as nylon, tend to exhibit good mechanical properties and chemical resistance. SLS prints can be coloured by painting or alternatively by dyeing the plastic and then bathing the product in a glue to seal the colour in.
The next issue of this Prototyping Knowledge Series will take a deeper look into Vac-Casting and will allow you to easily compare and judge it against the information provided above about SLS printing.
Subscribe to Our Newsletter
Get the latest news from Dienamics into your inbox