Airplanes have been capturing people’s imagination for many years now. This is why building plastic model airplanes is a favourite hobby amongst aviation lovers all across the world. The great thing about model airplanes is that their product design is such that they can be easily built.
Just follow these twelve simple steps:
Step 1: Clean the Parts
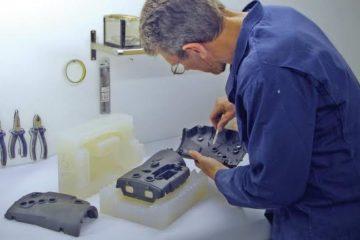
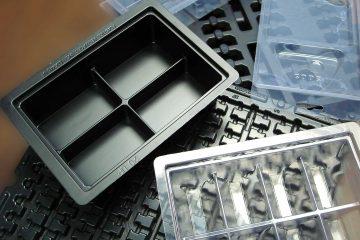
Airplane model parts are created with plastic injection moulding . They are usually coated with a release agent to keep them from being attached to the mould. It also keeps the paint from sticking to the airplane model.
It is important to clean the parts thoroughly with soap and water. Then, you must air dry the model. A hair dryer will come in very handy for this step.
Step 2: Assemble the Cockpit
Now, you need to assemble the cockpit and paint it accordingly. Once it is inside the fuselage, you won’t be able to remove it, so make sure that you paint it before assembly.
Step 3: Control Glue
The glue used on the sides of the fuselage should be minimal. Just dab a small amount here and there. But you should use enough glue so that the tiny parts of the airplane model stick together.
Try using a pin to restrict the amount of glue used. If you accidently spill some excess glue, clean it up immediately with sandpaper.
Step 4: The Wings and Tail
It is important to focus carefully when arranging the tail and wings of the airplane model to the fuselage. The larger parts of the model can be fixed in place using tape. This will help gauge whether or not the arrangement is sturdy before you apply glue.
Step 5: Fill the Gaps
Unfortunately, you will have to use more than glue to assemble your model airplane. This is because some gaps will be noticeable between the different sections. The airplane will not look good with gaps between the fuselage parts. Even the smallest of gap can be spotted easily, so use putty to fill any gaps. As soon as the putty dries, use sandpaper to even the surface.
Step 6: Painting
When you get to painting your model airplane, make sure you have three brush sizes with you. Small, wide and medium sizes are useful in this regard. Try to avoid painting over areas that are still wet. Once dry, you can add another coat of paint.
Step 7: Use Spray Cans
It is possible to get a smooth and even finish with spray cans. Spray cans also dry as soon as they are used.
Step 8: Use an Airbrush
When it comes to painting a model airplane, using an airbrush will help you achieve the perfect finish.
Step 9: Paint the Canopy
The plastic canopy has frames that need to be painted. Use masking tape to avoid accidently painting over the clear areas, and make sure you use a fine brush.
Step 10: Gloss Coat
Your decals look much nicer if they are applied to a glossy surface. Therefore, apply a clear gloss coat before you stick on the decals.
Step 11: Coat for Flat Surfaces
In case you have an airplane model with flat, non-glossy surface, use a flat clear coat after applying decals.
Step 12: Check the Arrangement
Make sure that the final arrangement looks structurally sound and dry.
With this article in hand, your model airplane will be up and flying in no time!
Subscribe to Our Newsletter
Get the latest news from Dienamics into your inbox