Part 6 – Vacuum Casting
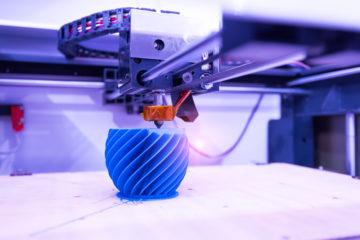
In Part 5, ‘SLS 3D Printing,’ we looked at each consideration for the process, step by step. In this edition of our knowledge series, we’ll be discussing the considerations needed for vacuum casting.
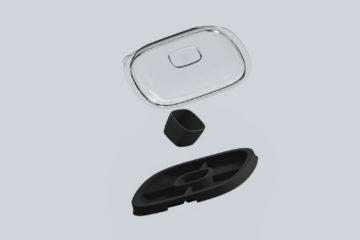
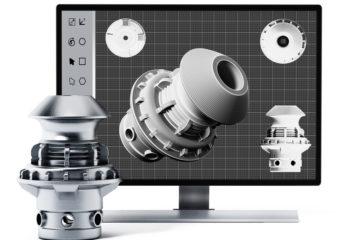
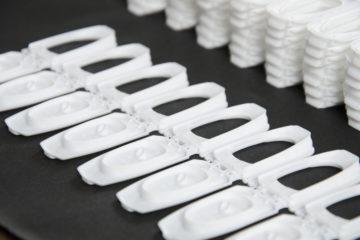
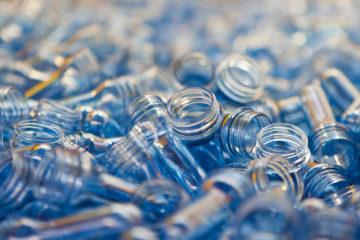
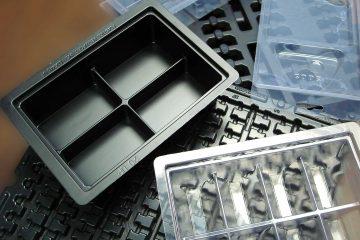
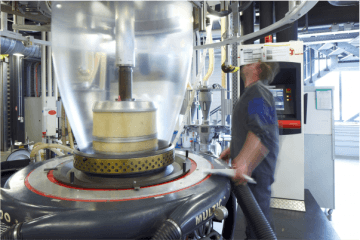
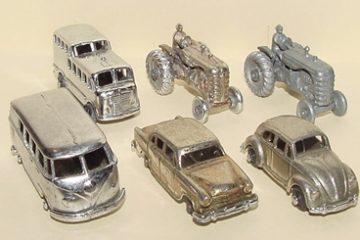
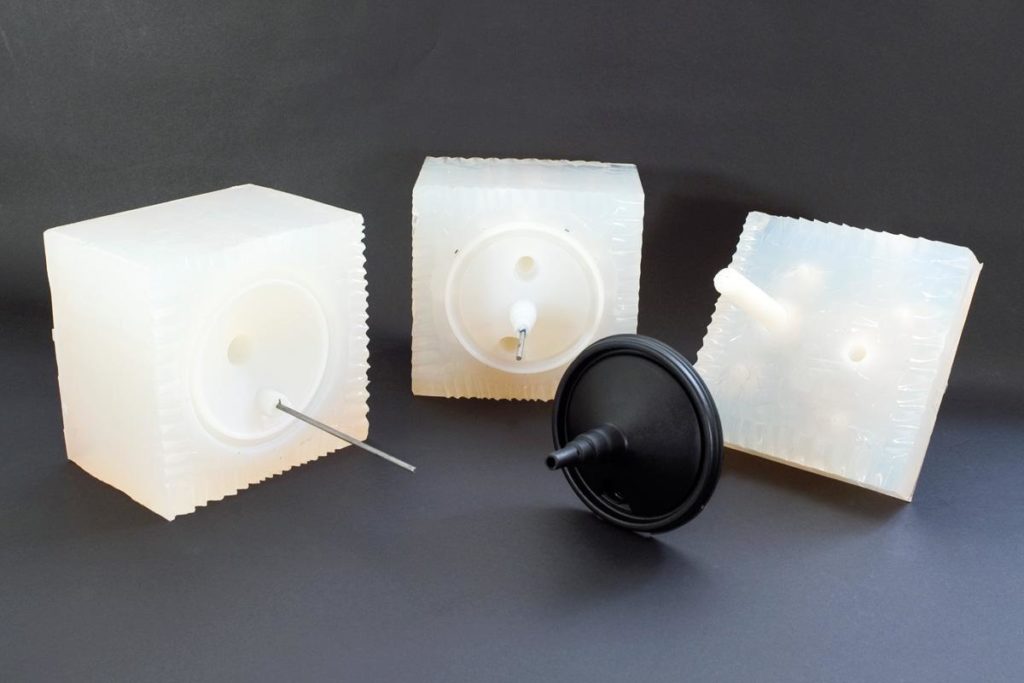
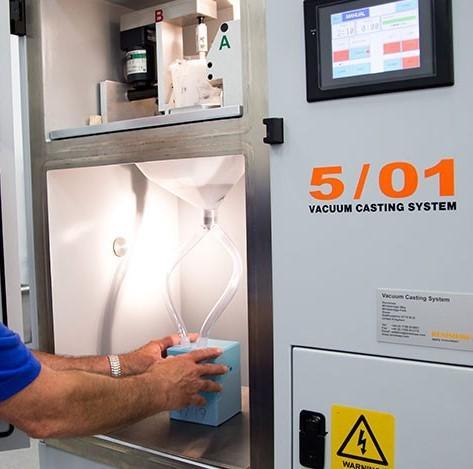
Vacuum casting (vac-casting), is a plastic moulding process used to manufacture high quality product prototypes. Vac-casting works by creating a silicone rubber mould using a product master pattern. After the silicone mould is cured in high temperatures, it is cut into sections using a zig-zag cutting technique; the cut is zig-zagged to ensure that when you put the sections together, the mould cavity aligns correctly, Plastic resin is poured in the silicone mould, after which the entire mould is put into a vacuum chamber to ensure that there are no trapped air bubbles.
Use
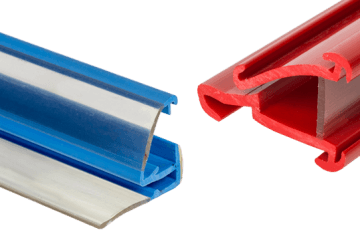
If you’re looking to prototype a complex design, a product that uses soft plastic, or you want to make multiple prototypes, vac-casting is your best bet. Compared to any 3D printing process, vac-cast prototypes have a higher quality and compared to CNC’d prototypes, vac-cast prototypes are less restricted as to what shapes can be made. Furthermore, the moulds can usually be reused up to 5 or 10 times and sometimes even up to 25 or even 50 times.
Quality
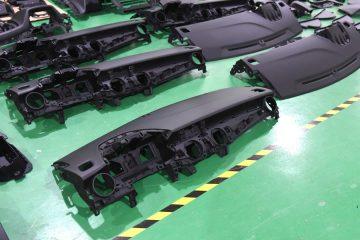
Vacuum cast prototypes exhibit physical qualities that are comparable to that of injection moulded products; they aren’t as good, but they’re closer to than CNC’d or 3D printed ones. This makes them great for functional user or basic mechanical testing and even for marketing or display purposes.
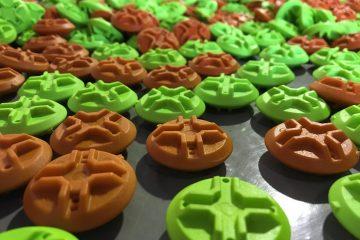
Because the moulds are reusable you’re able to repeat fine details such as patterns, dimensions & even textures. You will however notice that the quality does slightly decrease from the first pattern made to the last, until it decreases so much that a new silicone mould is required.
Time
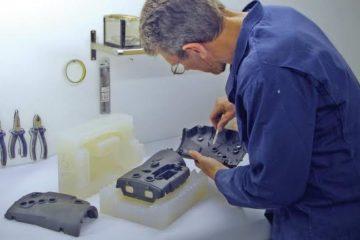
Preparing vac-casting moulds can be a manually intensive and time consuming process depending on the complexity of the product and its’ size. Further, the size of the product directly affects the required curing time for which the pattern must sit in the mould. As a result, vac-cast prototypes have a longer lead time – generally looking at around 2 to 3 weeks to produce.
Materials & Cost
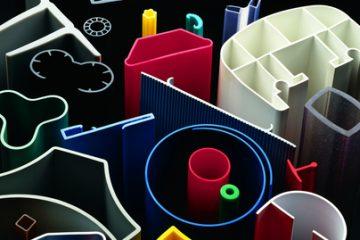
Depending on the resin used, or if you use metallic powder or pigment additives, different aesthetic or functional properties can be achieved, including:
- Heat resistance (from 100C up to 140C)
- UV resistance (only if the prototype is coated with a UV resistant paint after it is moulded)
- Flexibility / rigidity
- Softness / hardness
- Clear (can use transparent plastic resin)
- Colours (can tint/colour the resin before it is moulded – or the prototype can be painted once the resin is cured)
- Matte, satin, or gloss surface finish
Sometimes the material you would injection mould you final product from isn’t able to be used in the vac-casting process. If this is the case, the closet ‘like’ material is instead used; this happens with polypropylene products.
Due to the set-up costs, to make one single prototype, vac-casting will be more expensive than 3D printing or CNC’ing. This is because it requires you to make a prototype pattern that is sacrificed to make the mould itself which consequently means that the whole process takes more time and labour. However, because the moulds can be reused to make multiple patterns, your per prototype cost will reduce the more patterns you make; if you’re making multiple pattern copies your per prototype cost would be less than if you were using CNC’ing or 3D printing.
By this stage in the knowledge series, you’re beginning to understand the world of product prototyping. Stay tuned for the next issue where we’ll take a look at SLA & FDM 3D printing!
Subscribe to Our Newsletter
Get the latest news from Dienamics into your inbox