Creating a rapid prototype is an essential part of the product development process in Brisbane. It involves creating a physical model of a product quickly and efficiently to test its functionality and design. Rapid prototyping enables designers to refine their ideas and make adjustments to the product design before moving on to full-scale manufacturing.
In this guide, we’ll take you through the essential steps involved in rapid prototyping and provide you with valuable insights that can help you develop your products efficiently.
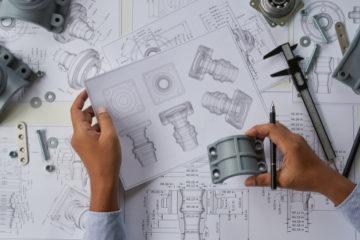
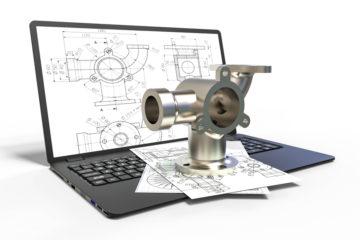
Step 1: Product Design
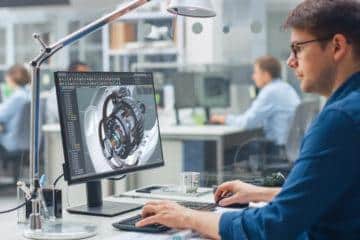
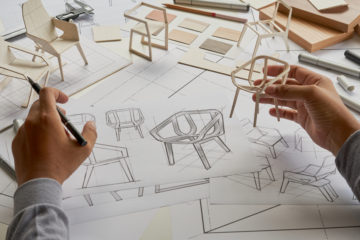
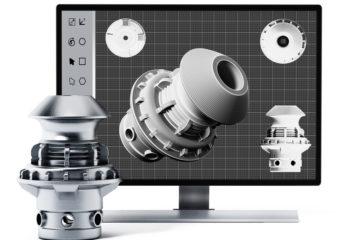
The first step in rapid prototyping is product design. This step involves creating a detailed design that outlines the product’s features, functions, and appearance. It is essential to have a clear understanding of the product’s intended use, target audience, and budget before starting the design process. The design should be aesthetically pleasing and should meet the user’s needs.
The design process involves various stages such as conceptualisation, prototyping, and testing. Conceptualisation involves brainstorming and creating an initial design that meets the product’s requirements. Once the initial design is created, a prototype is developed, and the product is tested to ensure that it meets the required specifications. Testing is essential to identify any design flaws and to make the necessary improvements.
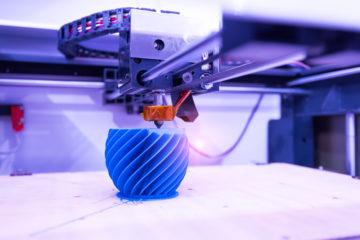
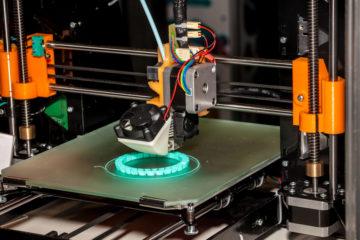
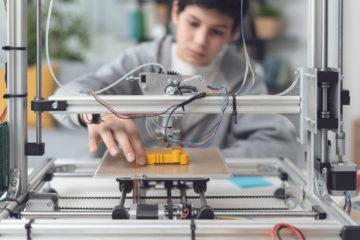
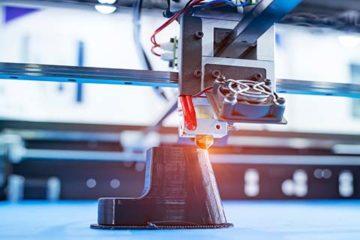
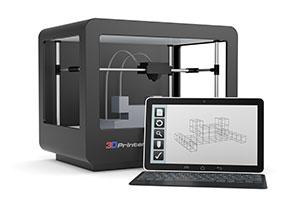
Step 2: Rapid Prototype
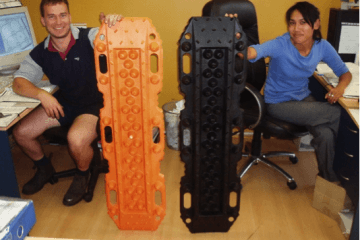
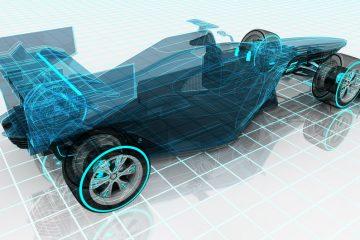
Creating a rapid prototype involves creating a physical model of the product quickly and efficiently. This step enables designers to test the product’s functionality and design before moving on to full-scale manufacturing. Rapid prototyping can help save time and money in the product development process and enables designers to make adjustments to the product design early on.
There are several rapid prototyping methods available, including 3D printing, Vacuum Casting, and CNC machining. The choice of prototyping method can vary depending on the type of product, the required material, and the level of accuracy needed.
Types of Rapid Prototyping:
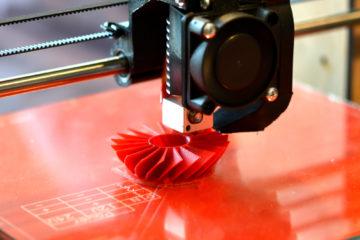
- 3D Printing: 3D printing is a popular rapid prototyping method that involves creating a physical object from a digital model. The technology enables designers to create complex geometries and customised products quickly and efficiently. 3D printing is ideal for creating low-cost prototypes and is commonly used in industries such as aerospace, automotive, and medical devices.
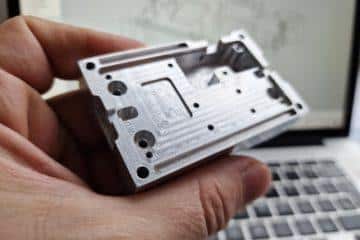
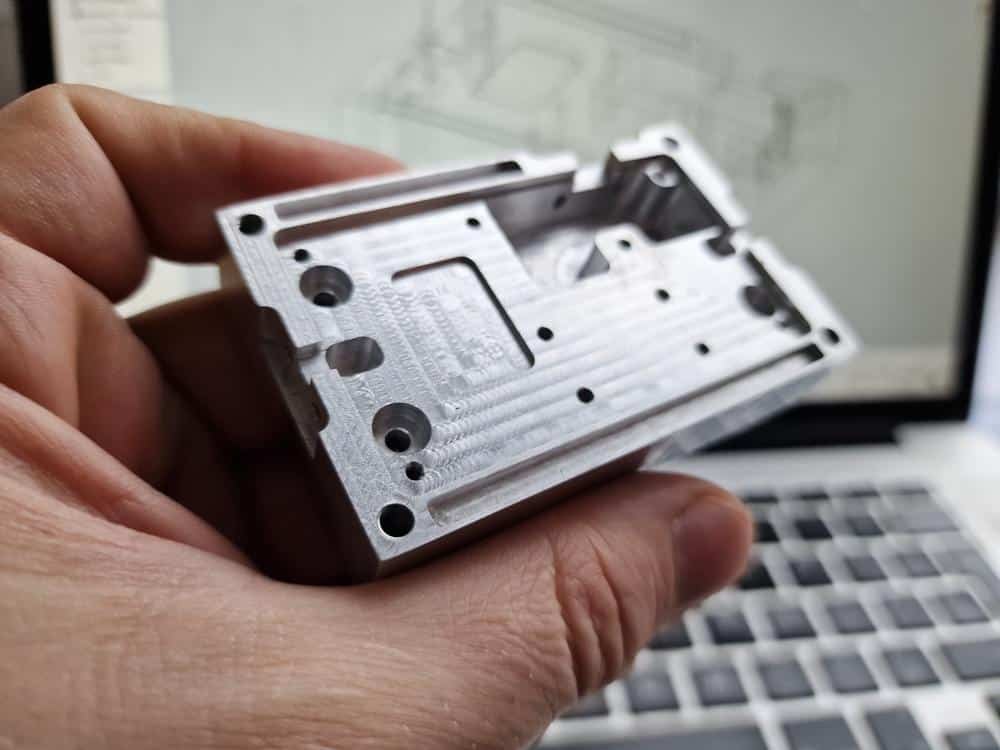
- CNC Machining: CNC machining involves using computer-controlled machines to manufacture parts with high precision and accuracy. The technology enables designers to create high-quality prototypes quickly and efficiently. CNC machining is ideal for creating prototypes that require high accuracy and tight tolerances.
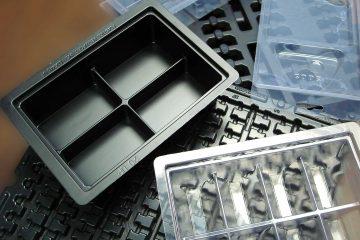
- Vacuum Casting: Vacuum casting prototyping is a versatile and efficient method for producing high-quality prototypes. This technique involves creating a mould from a master pattern and then using a vacuum to draw liquid resin into the mould, replicating the desired part. Vacuum casting is particularly suitable for producing roughly 10-40 prototypes with complex geometries, intricate details, and a wide range of materials with reducing quality as more are produced. This method offers great flexibility and is widely used in industries such as automotive, aerospace, and consumer electronics to develop functional prototypes for testing, evaluation, and even limited production runs.
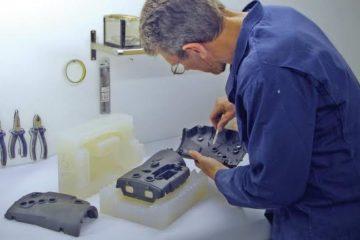
Step 3: Testing and Refinement your Rapid Prototype
Once the prototype is created, it undergoes various testing and refinement stages to ensure that it meets the required specifications. Testing can involve various methods such as functionality testing, stress testing, and user testing. Testing is essential to identify any design flaws needing adjustments in the product design.
Refinement involves making adjustments to the product design based on the testing results. The adjustments can include changes to the product’s geometry, material, or production method. The refined design is then used to create a new prototype, and the testing and refinement process is repeated until the product meets the required specifications.
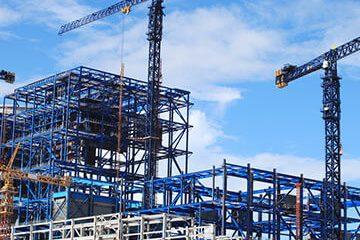
Step 4: Manufacturing
Once the product design is finalised, and the prototype is tested and refined, it is time to move on to full-scale manufacturing. The manufacturing process involves various steps such as preparing the raw materials, assembling the product, and quality control.
Manufacturing your product will be easier if you follow Design for Manufacturing (DFM) principles. DFM is a design methodology that involves designing products with the manufacturing process in mind. DFM simplifies the manufacturing process to reduce costs and improve product quality. This is achieved through minimising the number of parts, reducing complexity, and using standardised components. By implementing DFM principles in product design, designers can create products that are easy to manufacture, saving time and money in the production process.
Summing Up
In conclusion, rapid prototyping is a crucial part of the product development process that enables designers to create physical models of products quickly and efficiently. The process involves product design, rapid prototyping, testing, refinement, and manufacturing. By following the steps outlined in this guide, you can develop your products efficiently and bring them to market with confidence.
Looking to get your product designed?
At Dienamics, we have over 35 years of experience in industrial design, tool making and manufacturing in Brisbane. We offer specialised design services to help you take your concept from an idea to a reality.
Subscribe to Our Newsletter
Get the latest news from Dienamics into your inbox