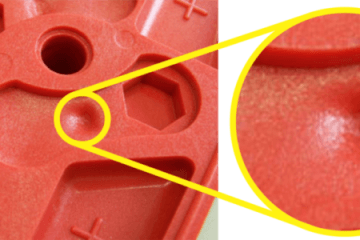
Sink marks are a common manufacturing flaw found in injection moulded parts. Here is how to identify them, and avoid them.
How injection moulding works.
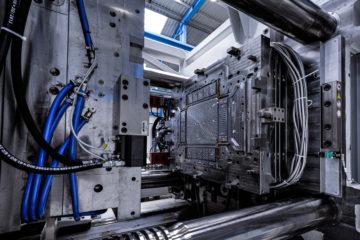
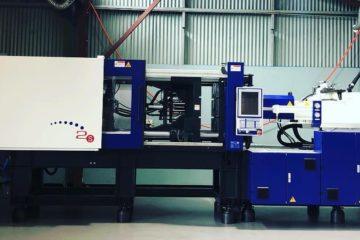
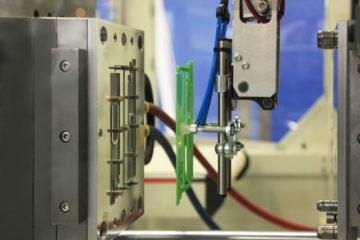
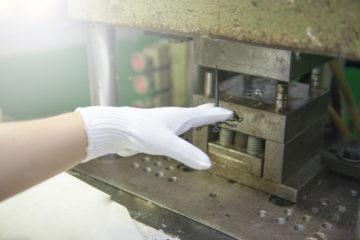
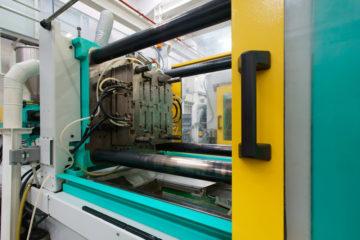
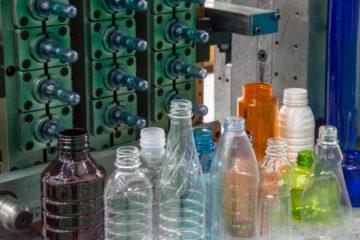
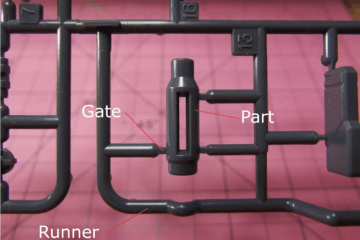
Understanding why sink marks show up in parts requires a little knowledge of the process of injection moulding. Put simply, plastic is heated until it melts into a liquid. Then it is injected at high pressure though a small hole, or gate, into a hollow mould.
The plastic is allowed to cool until it solidifies. Then mould will open, typically by splitting down the middle when viewed from side on, and the part will be pushed out by rods. The mould will close, and the process may begin again.
So why does it sink?
The trouble comes from the phase change the plastic is forced to go through. All materials expand when heated, so 10 grams of heated liquid plastic just takes up more space than 10 grams of the exact same plastic in room temperature, solid, form. The plastic must be liquid to be injected into the mould, but it must become solid to be a usable part when it is ejected. This means that although the injection moulding machine may squirt in enough plastic to fill the mould completely, as it cools it will shrink.
The secret to good injection moulding is controlling this shrinkage, and it can be a tough job. Not only must parts actually be designed slightly larger than they are needed so they shrink to the right size, plastic does not often shrink evenly. Thicker areas in a part will shrink more than thinner areas, as their greater size means they took more hot, liquid plastic to fill up.
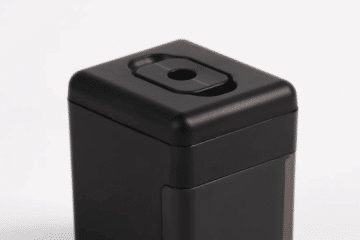
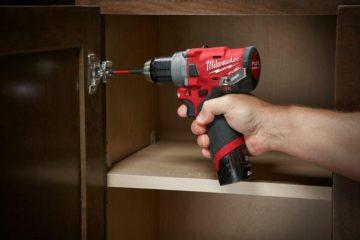
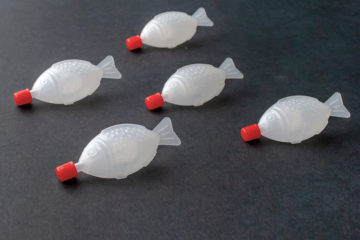
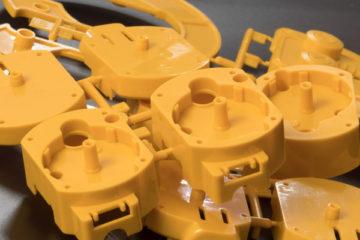
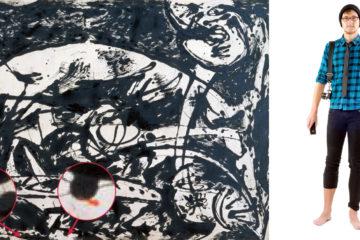
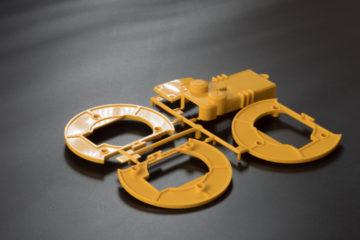
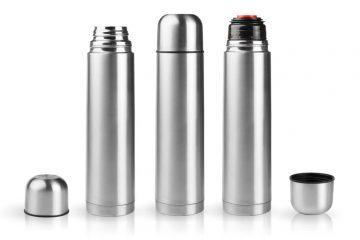
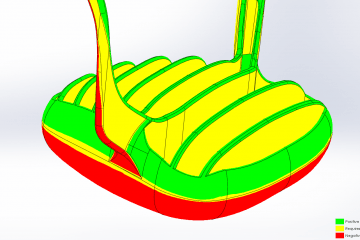
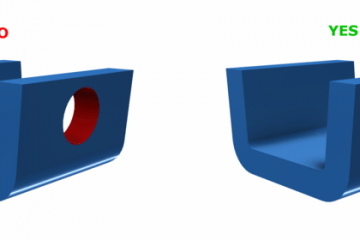
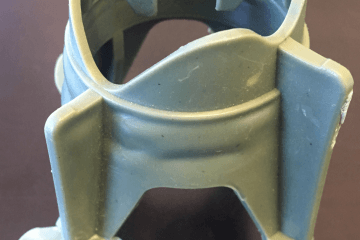
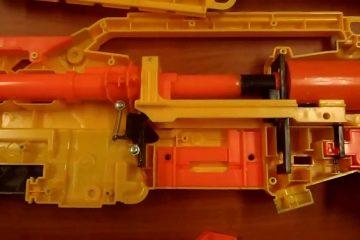
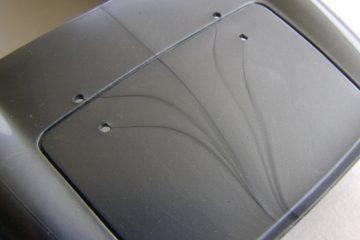
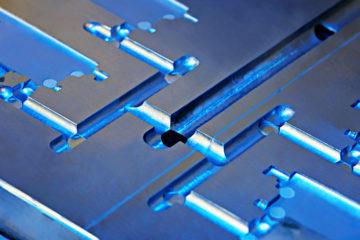
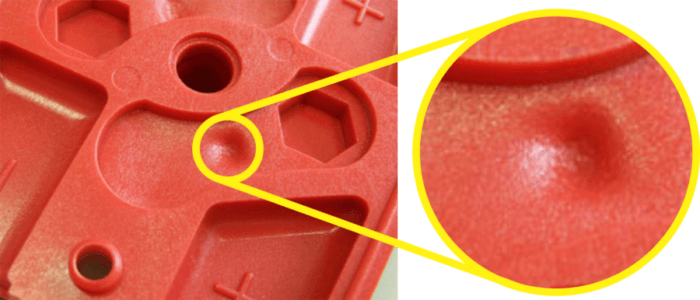
In the part pictured, a reinforcing boss behind the sunken area is making the part very thick compared to the areas next to it. All that plastic will shrink down, and so the thick area “pulls” a sink into the surface.
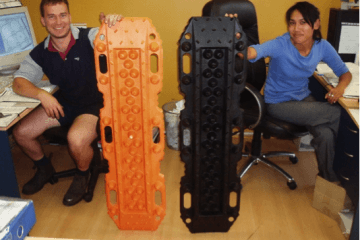
Sinks don’t have to be perfectly round either. They can occur anywhere there is a mismatch in thicknesses in a part. A common example are the long reinforcing ribs on plastic chair seats. The ribs must be thick to safely take a persons weight and as a result they often cause visible sink lines in the seat of the chair. You will often see manufactures attempt to hide these by patterning the face of the chair in order to break up the lines.
So I have to live with it, right?
Sink marks are not only caused by the design. Poorly controlled moulding can introduce them into the best designed parts. On the flip side, a careful and experienced moulding business can erase them from even problem parts through careful handling of injection times, pressures, injection steps and material fills.
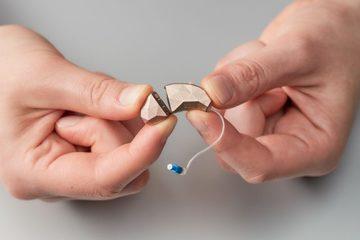
If you have a part that is experience continual sinking it is good practice to take a sample to another moulder and ask their opinion. A trained eye will often be able to tell you quickly if the problem can be managed in moulding, or if the design (and hence, the moulding tool) will need some modification to remove it.
The steps out of the sinkhole.
Here are the area’s we look at when asked to diagnose a serial sinker.
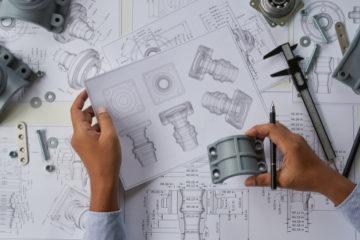
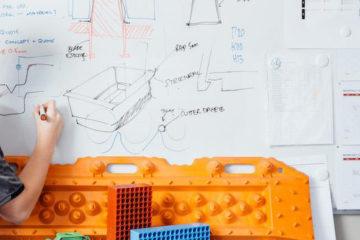
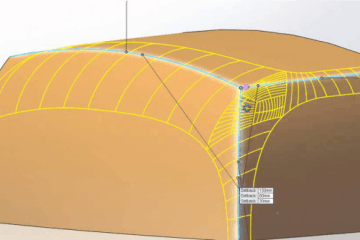
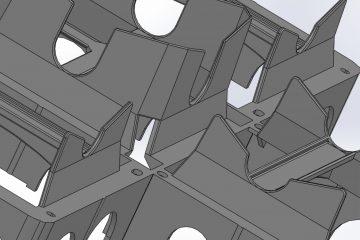
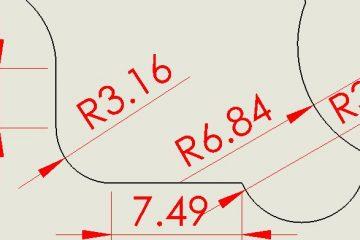
- Overall Design – The standard rules of injection moulding part design call for setting a nominal wall thickness for a part, then making sure every feature that attaches to a wall is at least 40% less than the nominal. This ensures the place where the feature meets the wall is only slightly thicker than the wall itself, and sinks are given no place to form.
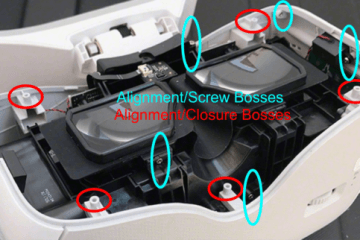
- Features – Things like ribs, clips, screw bosses and various other bumps and lumps are needed in every part. The trick is inserting them in such a way the overall design rule is not broken. One large clip in a box lid may be easier to use, but many small clips will ensure the lids stays perfectly smooth when moulded.
- Moulding – If there is no obvious design flaw, it may be how it was moulded. Competent moulders don’t just slap a mould in a machine and leave it at that. Careful setup and monitoring is required to ensure the parts are moulded flaw free, from the beginning of a run to the end. If you part only shows sinking occasionally, this is a good indicator the moulder may be the issue.
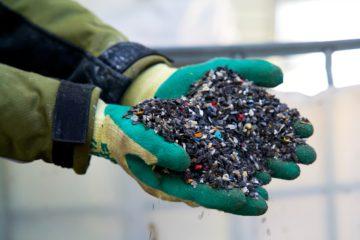
- Material – Some plastics shrink more than others. If a change in material is acceptable, that can often be an efficient way to address the problem.
- Fillers – Most parts are not pure plastic. Fillers such as colour, glass or minerals are often added to change the look and physical properties of a part. Many can reduce the shrink co-efficient of plastics and may be a suitable fix to a sinking issue.
Subscribe to Our Newsletter
Get the latest news from Dienamics into your inbox