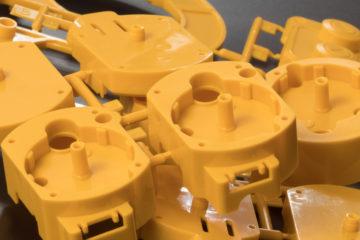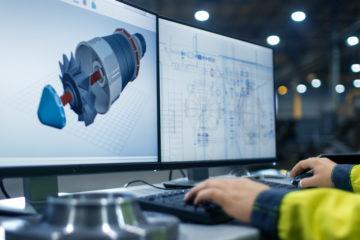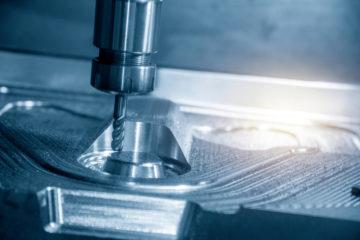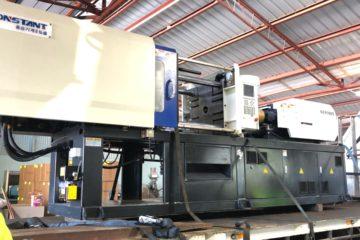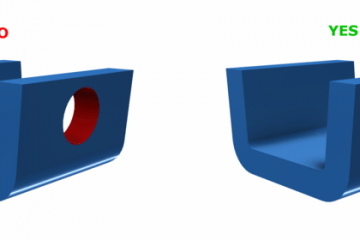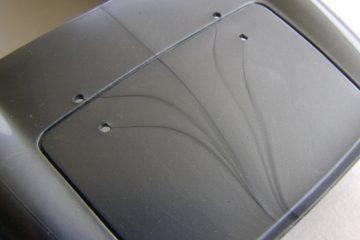
So, your design is done! Looking back over your masterpiece, do you notice any overhangs or what is more affectionately known in the injection moulding industry as “undercuts”? You may not realise that these little cliffhangers can have your design on edge, but why is this? In today’s blog, we discuss why you should try to keep your undercuts in your design to only what is absolutely necessary so that you can maximise your profit on your design and save money on tooling costs.
When designing parts for injection moulding manufacturing, it isn’t always easy to avoid having undercuts in the design but if you can avoid them, it will pay off in multiple areas when it comes time to produce the part. An undercut is an overhang in the design which needs to be accounted for, allowing one cavity of the tool to cleanly separate from the other. Having an undercut effectively creates a “catch” that the injection moulding tool must get around. There are a couple of ways to do this if the undercut is necessary, but it is best practice to try and avoid it altogether. If you want to learn more about what you should do before going to injection moulding, check out our blog on The 5 Questions you Should Consider before Getting an Injection Moulding Quote.
What are the tooling options to create undercuts for a design and what are the downsides? What are alternative design techniques that can be implemented in the design?
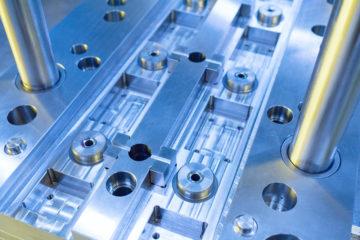
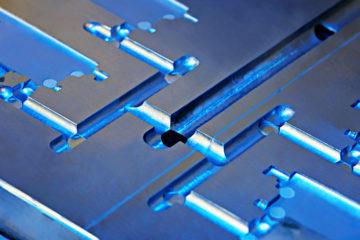
There are 2 common ways to deal with an undercut:
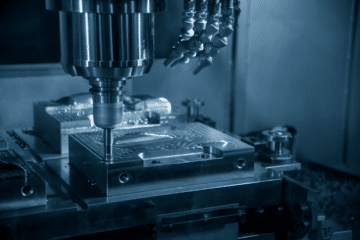
Option 1 – Sprung Core
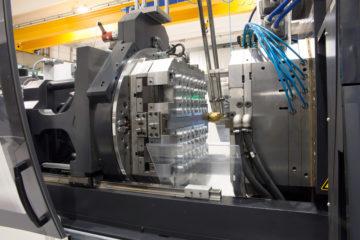
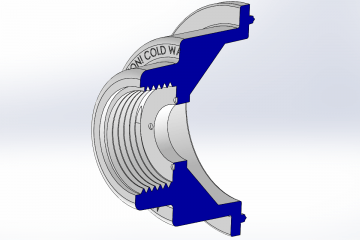
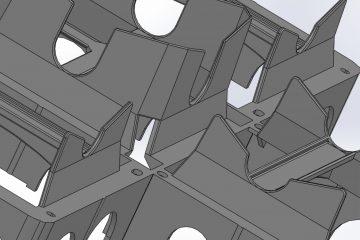
- A sprung core is a sliding core that is set around an undercut feature on a part. It allows a part to be ejected from the tool. The core itself is “sprung” meaning that when it moves out of the tool during ejecting, it springs to one side allowing for the undercut to be free. Starting inside the tool, the plastic is then injected and settles around the sprung core. The core then moves to act as an ejector of the part and as the core exits the tool, the core is released from its sprung position releasing the undercut and the part.
Option 2 – Lifter
- Lifters are a pair or set of angled struts that are designed into the mould to create the undercut. Plastic is injected into the part and during the ejection process, they work by travelling with the ejector pins at an opposing V-shaped angle which pulls the undercut mould away from the part undercut, releasing the part.
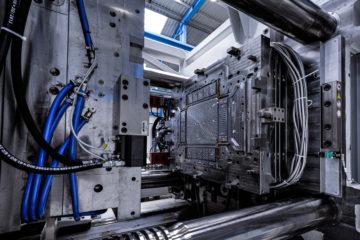
The 3 biggest drawbacks of incorporating undercut features into injection moulding tooling are
1) Cycle time – it’s slower to cycle parts and you lose the ability to fill your tool die with more cavities.
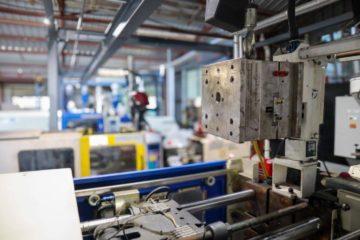
2) Cost – adding these features to an injection molding tool makes the tool more complex and in turn, more expensive. With a more complex tool, with more moving parts, the tool will need more servicing and there is a higher chance of the tool being damaged if the tool jams, which again adds more costs. Having sprung cores or lifters also slows down the cycle time, this makes the production of parts less efficient, taking more time, making each part cost more to produce. Having these features will take up space on your die face which will mean you have less opportunity to have multiple cavities on the one too which will increase your output rate.
What can you do in the design to limit the need for undercuts?
When considering your design, you should be thinking of how your part is going to be injection moulded from the outset and making sure there will be no undercuts. A way to do this is to try and think of where the parting line in the tool might be and make your undercut section by dissected on that parting line. This will mean your part will come off the tool with no problem.
It is possible for the ejection process to eliminate any undercuts in the design. This will be determined by the material being flexible enough to overcome the bump in the mould and return to its intended shape without fracturing. When designing with this strategy in mind, all edges should be rounded to give the part the best chance of getting off the mould.
When you decide to take on your next design project for injection moulding, make sure you are planning for undercuts by thinking about how the design is going to be coming off the tool. Sometimes undercuts are a necessary evil but if you can design them out of your parts you will end up with cheaper tool design, cheaper tool operation and servicing and potentially higher production so you can leave all the cliffhanging to Sylvester Stallone.
If you want to learn more about injection moulding, check out our blog Injection Moulding Made Simple
At Dienamics, we offer a range of comprehensive services in every step of the product manufacturing process. These include:
- Product design, including concept assessment and project scoping
- Prototyping and process and materials testing
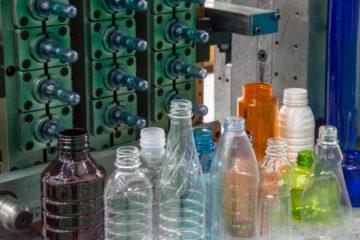
- Manufacturing, injection moulding, production, assembly, and packaging
Contact us today if you have a product you’re looking to get designed & manufacture!
Subscribe to Our Newsletter
Get the latest news from Dienamics into your inbox