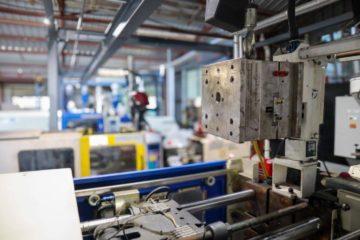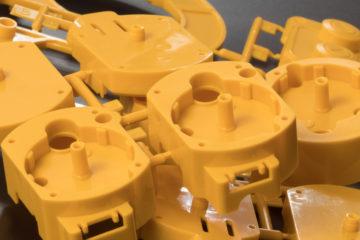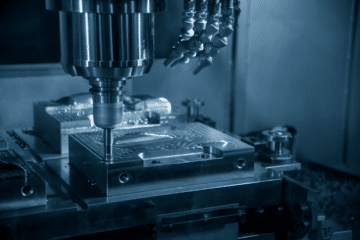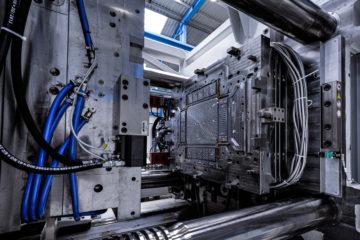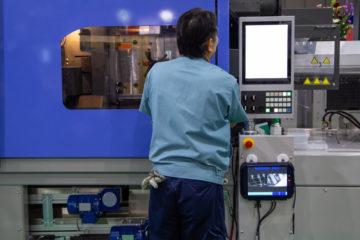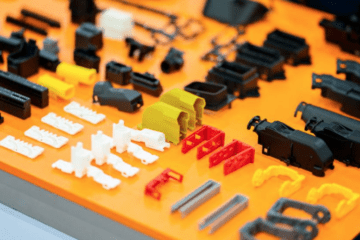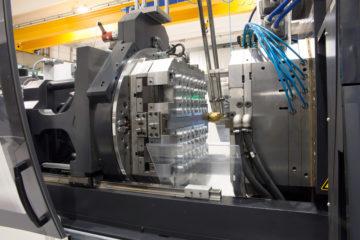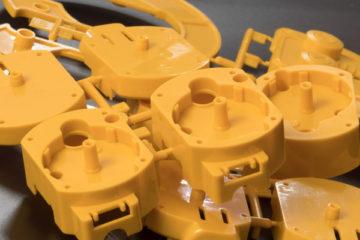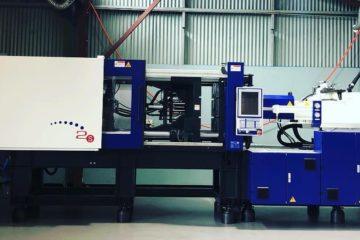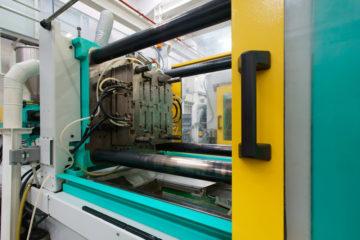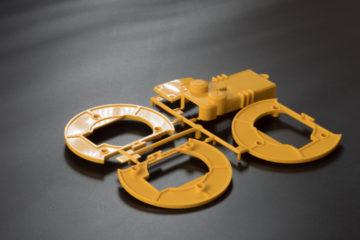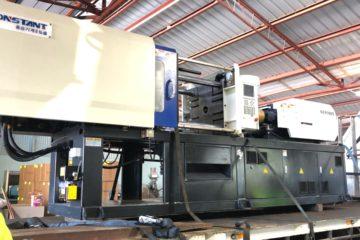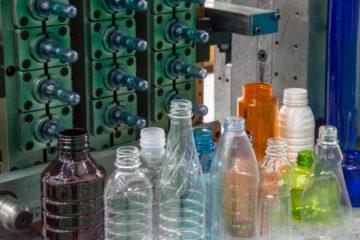
The plastic injection moulding process is highly technical, and by no means an easy job. There’s a lot of room for expensive error, which can range from minor defects to major issues that could affect your product’s performance, desired design result, and safety.
If these defects are something you’d like to avoid, then read on to find out the 7 most common issues that could arise during the plastic injection moulding process, what they are, and how you can avoid them.
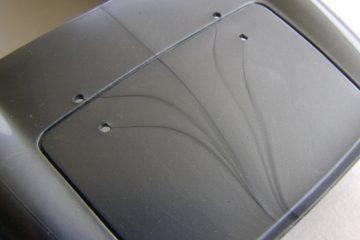
1. Flow Lines
These are wavy patterns that appear as a slightly different colour to the surrounding area. They generally appear due to the varying speed that the plastic flows through the moulding tool, or because of a low injection speed which allows plastic to solidify at varying rates in different areas. Flow lines generally don’t compromise the integrity of your end product, but they can be bad news if the product you’re creating needs to be cosmetically flawless (i.e., designer sunglasses).
Flow Lines can generally be avoided by increasing injection speed and increasing the nozzle diameter to increase flow speed.
2. Burn Marks
This defect is pretty self-explanatory. These are rust or discoloured marks that don’t generally affect product integrity (unless to the point of degradation). Burn marks can be easily avoided by lowering the injection temperature, reducing speed, and shortening the cycle time so that moulds don’t have an opportunity to overheat.
3. Jetting
Jetting can be described as the rapid cooling that occurs when molten plastic first comes into contact with the mould walls, causing an increase in viscosity, and leaving behind scrape marks. Reducing the injection pressure and increasing the material amount to fit the mould will assist in ensuring this defect does not occur.
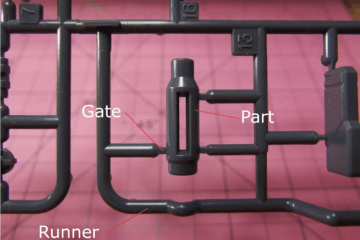
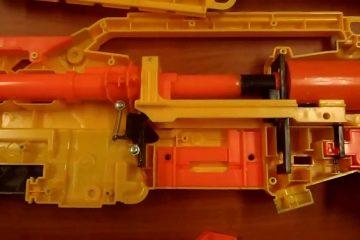
4. Flashing
This is a common injection moulding term, and it relates to excess material flow. Flash occurs when the plastic fills the mould, but continues to flow and overfill the mould channels. The resulting defect is a plastic “lip” along the parting line of your product. Flash often occurs when moulds are worn out, which means it can be avoided by ensuring you are only using tools that are in tip-top shape. Excessive injection pressure can also lead to this defect.
5. Warping
The term “warping” isn’t exclusive to the jargon of the industrial design industry. Just like a CD left on your car dashboard on a hot day, warping is the name given to a plastic product that has shrunk or become misshapen due to uneven drying. Warping can be overcome by ensuring that your cooling process is gradual and long, by lowering the temperature of the material or the mould, or by simply switching to a material that shrinks less.
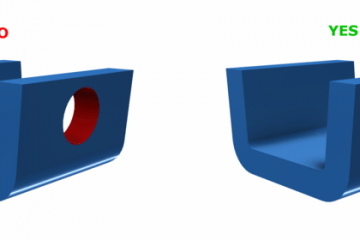
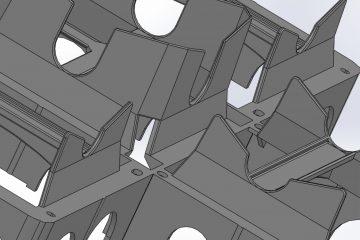
6. Weld Lines
Weld lines occur when molten material has converged after splitting off into different directions in the mould. It’s a result of weak material bonding, which in turn lowers the overall strength of your part. Two or more fronts of polymer or other molten material need to maintain a certain temperature when colliding, and weld lines occur when this is not maintained. Weld Lines can be avoided by temperature lowering, or simply by redesigning the mould to eliminate partitions.
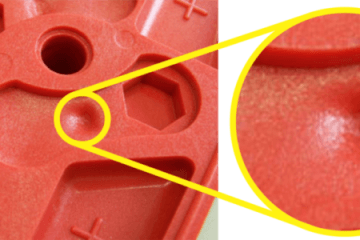
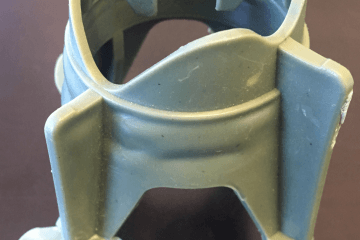
7. Sink Marks
These are small depressions in the surface of a plastic part that have occurred because the inner part of the mould material has shrunk. Sink marks are best avoided by increasing your holding pressure and cooling time and by using a mould with thinner component walls.
Manufacturing with plastic injection is by no means an easy process, and defects usually mean you need to start that process over. With over 30 years experience we know that customers don’t want to be left in the dark; we like our customers to develop an understanding of the design and manufacturing processes that go into their products and the possible challenges that may arise.
Subscribe to Our Newsletter
Get the latest news from Dienamics into your inbox