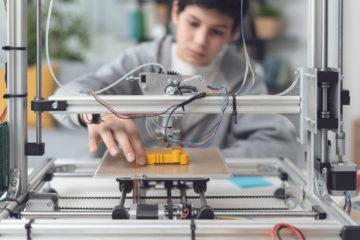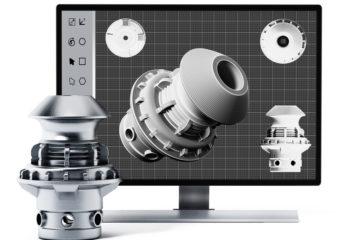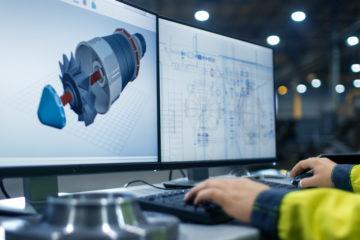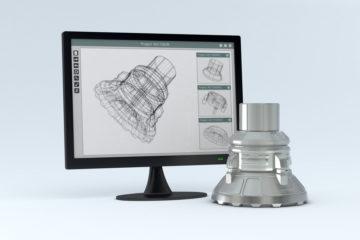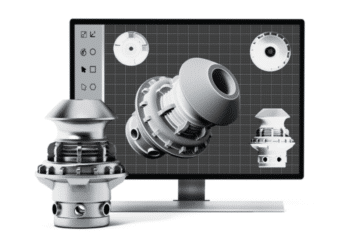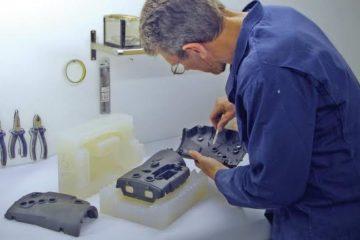
Product rendering is an increasingly popular method of presenting products to clients. It allows you to show photo realistic images of your designs without going through the processes required to manufacture a prototype, not to mention it’s a far cheaper and time efficient process.
With many rendering programs on the market, the current industry standard, especially in Australia, is Keyshot. Keyshot has a great system for importing projects, and the existing material library is incredibly broad. The community is large and there are even more materials and resources made by other users accessible on the cloud library.
Here are 5 tips and tricks to improve your Keyshot skills and understanding.
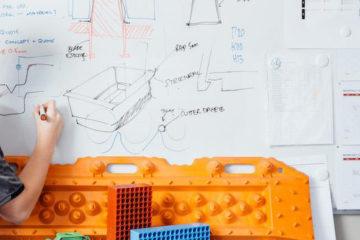
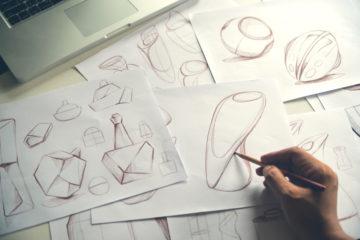
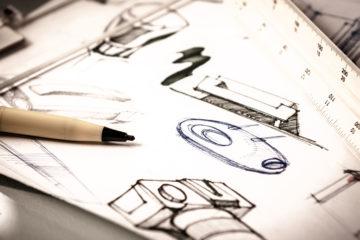
Define Sketches
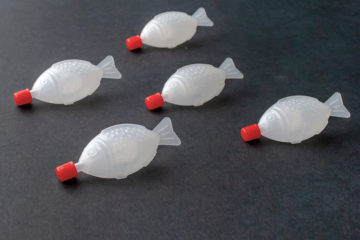
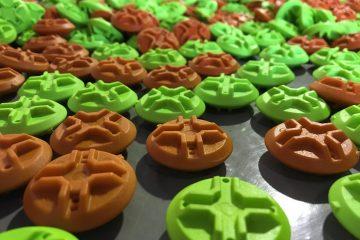
As mentioned before, the materials are an important part of the rendering process. Keyshot’s existing material library is large, and with even more materials accessible on the cloud ‘library’ it’s surprising when you can’t find exactly what you’re looking for. My advice when this happens is to find a similar material. Try looking up the exact material in the material library, and if this doesn’t work then try similar materials until you find something that has a similar texture and reflects light in a similar way to what you want. Once you do this you can edit the material and change the properties of the materials to what you require.
It’s important to note that different existing materials will only let you edit certain properties, so if you want a material with transparency, you need to choose a material that is already transparent (like glass or nylon).
Underlay Sketches
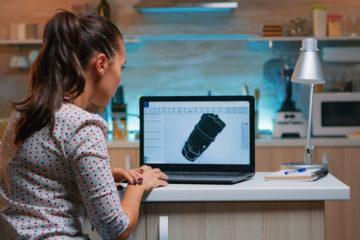
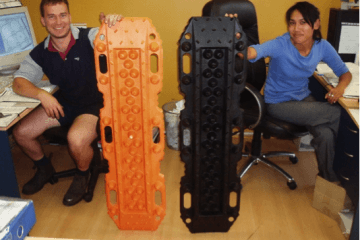
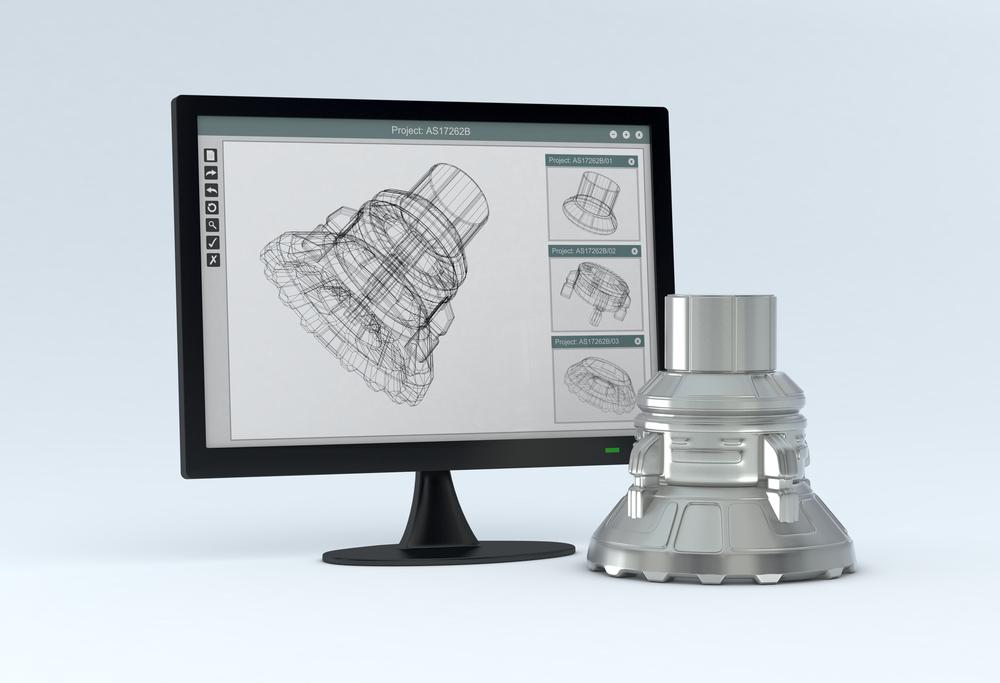
Keyshot is advanced when it comes to importing assemblies.
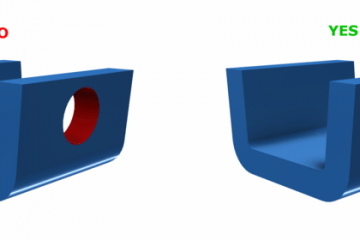
This said, it’s important to keep the rendering process in mind when you design the product you’re going to render, as there are a few inconvenient aspects to this. The main reason for this is that you can only apply materials to a body, not a face. If you want a red cube with one face being blue, you would need to CAD it so that the blue face is a separate body. My recommendation is to keep this in mind from the beginning of the CAD process and make any differently colored faces a separate body. You can also make a separate model for the purpose of being rendered, which helps with quickly editing your product.
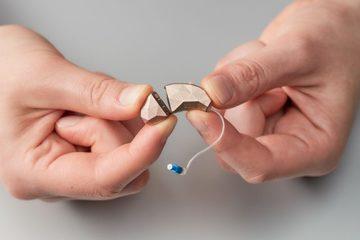
Configurations
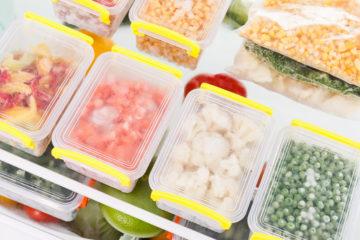
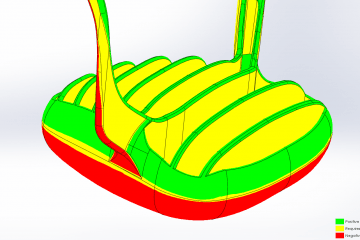
Keyshot has a great texture library that gives your parts a better 3-dimensional look, not to mention they can help improve the realism of the material. These textures can also be used to add stickers to your projects, like shopping barcodes or logos. With textures and bump maps that can simulate anything from concrete to skin, it’s important to utilize the textures effectively. By adding textures and patterns like metal diamonds and perforations in Keyshot, you can save a lot of time and effort. If you manually add textures and patterns during the CAD process, you run the risk of dramatically slowing your computer speed down.
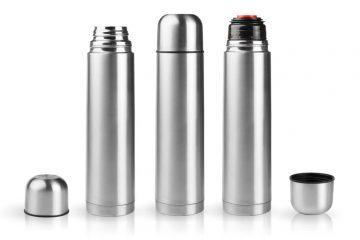
Pattern features
The environments library in Keyshot is one of the more lacking features when you compare Keyshot to other software.. There are more environments on the cloud library, but they’re all very similar and will not help if you need something more specific. Luckily, there are other existing websites that give you far more options for free, while still being high quality and simple to import. I recommend searching for your own instead of optimizing existing environments, as this will save you a lot of time and effort and will almost always look more appealing in the renders.
Projected Curves
Cameras can be used to bring your view back to a specific location. This is highly useful when you’re trying to edit your scene while still keeping track of a specific view for your render. I recommend using these cameras for each angle you render, but it’s important that the cameras are named in a simple and effective manner. I personally name them using three core parts of information: Description, the model set being used and the date that the camera was made.
E.g. “Underside of cube – Probs, lights 1, product – 10/11/21”
This will save you a lot of time and will improve your workflow throughout your rendering process.
Another great way to improve the rendering process is the use of Model Sets. Model Sets allow you to save customizations that anybody has used, meaning you have infinite lighting and scene designs all saved and ready to use in the one project. If you use the model sets and the cameras together you will be able to backtrack to any previous renders, allowing you to design and edit scenes at a much faster pace. This is also a far safer way to use Keyshot and will act as a safety net if you are to edit the scene, dislike it and then become unable to undo your changes.
With these tips, you should become far faster and more effective when creating your renders, and you should be able to reduce the time it takes to set up each of your projects.
With over 30 years of experience in the industry, Dienamics can help you every step of the way. For any questions or advice, feel free to watch our video tutorials, or contact us through our website.
At Dienamics, we offer a range of comprehensive services in every step of the product manufacturing process. These include:
- Product design, including concept assessment and project scoping
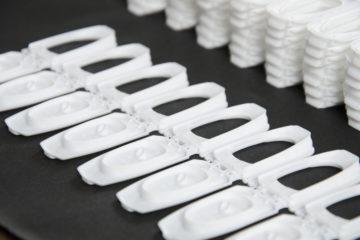
- Prototyping and process and materials testing
- Manufacturing, injection moulding, production, assembly, and packaging
Contact us today for more information.
Subscribe to Our Newsletter
Get the latest news from Dienamics into your inbox