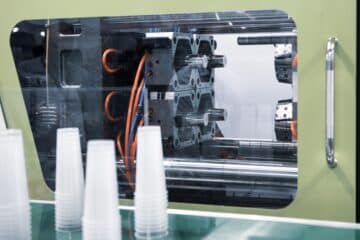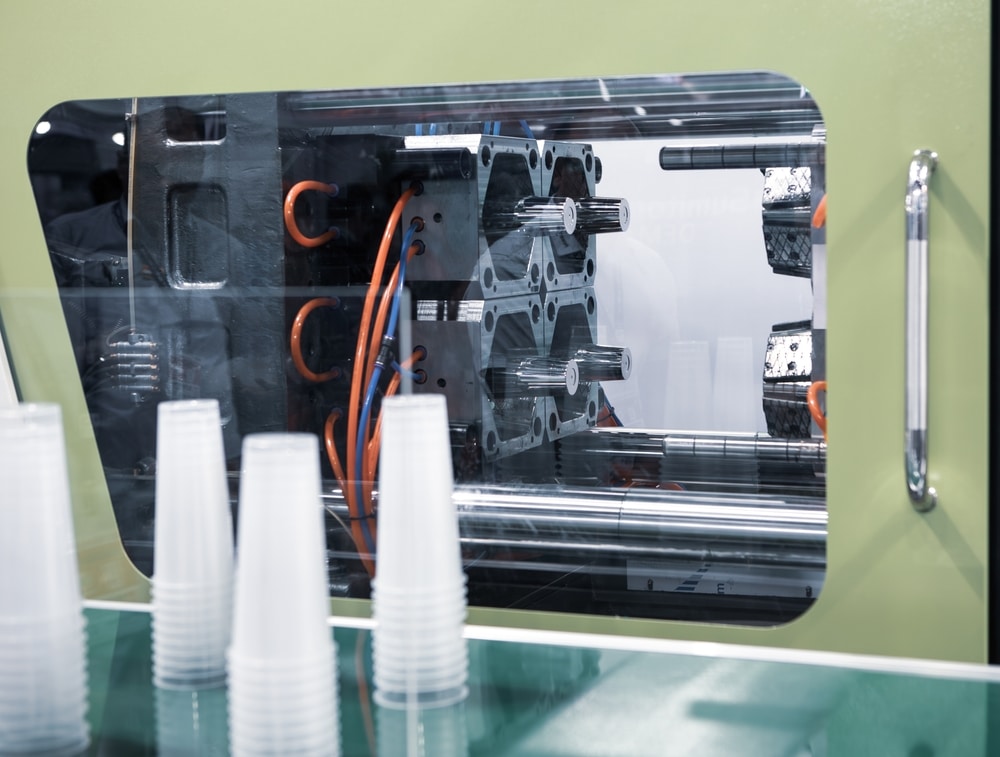
What is tool making? Tool making is the skilled work of designing and building the moulds, dies, jigs and fixtures that factories use to mass-produce parts. In plastics manufacturing, it means making the steel injection mould that shapes every part. The quality of that tool decides the quality, cost and consistency of your product.
Every plastic product you own started as a steel tool. Before a single part comes off an injection moulding machine, a toolmaker has spent weeks designing, machining and fitting a mould accurate to hundredths of a millimetre. Get the tool right and you’ll make consistent parts for years. Get it wrong and you’ll pay for it in rejects, rework and downtime.
This guide explains how injection mould tools are made, step by step: what the parts of a mould do, which steel to choose, what tooling costs, how long a tool lasts, and how to work with a toolmaker so your project goes smoothly.
What is tooling in manufacturing?
“Tooling” is the umbrella term for the custom equipment a manufacturer needs to make a specific part. It includes injection moulds, die casting dies, press tools and the jigs and fixtures that hold parts during assembly or machining.
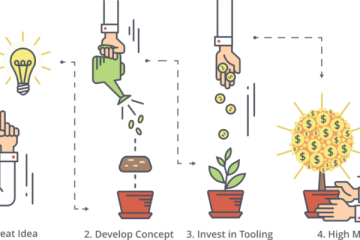
Tooling is a one-off investment for each product. Once it’s built, the per-part cost drops sharply because the tool can make thousands or millions of identical parts. That’s why tooling is usually quoted separately from part pricing, and why it’s worth getting right the first time.
What does a toolmaker do?
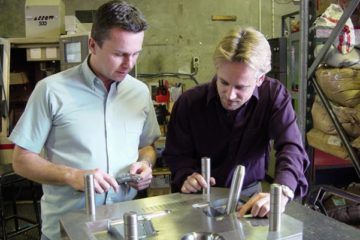
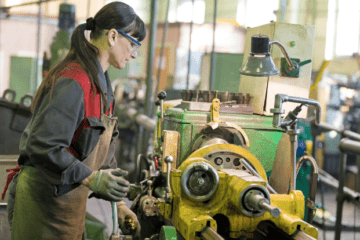
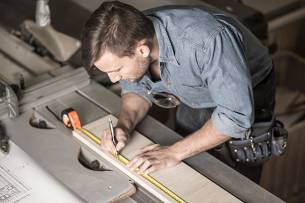
A toolmaker is a trade professional who builds moulds, dies and jigs. It’s one of the most precise trades in manufacturing. A toolmaker reads engineering drawings and CAD models, programs and runs CNC machines, uses spark erosion (EDM) for fine detail, and hand-fits and polishes components until the two halves of a mould close perfectly.
Good toolmakers also solve problems. They spot features that will be hard to mould, suggest small design changes that save cost, and fine-tune the tool during trials until the parts are right. That’s why involving a toolmaker early in product design pays off.
The parts of an injection mould tool
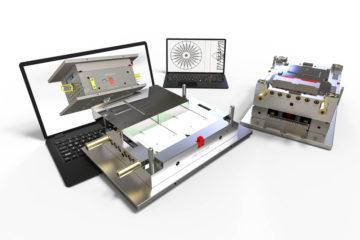
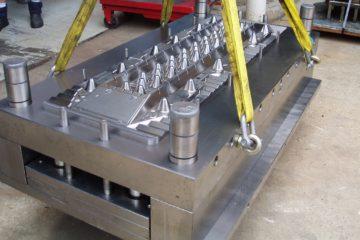
An injection mould looks like a solid steel block, but inside it’s a precise assembly of working parts.
[Editor: insert labelled cross-section diagram of a two-plate mould]
| Part | What it does |
|---|---|
| Cavity (A side) | The fixed half that forms the outside, usually the visible face of the part |
| Core (B side) | The moving half that forms the inside of the part |
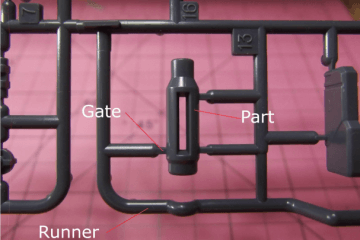
| Sprue, runners and gates | The channels that carry molten plastic from the machine nozzle into the cavity |
| Cooling channels | Water passages drilled through the steel to cool the part quickly and evenly |
| Ejector pins | Push the finished part off the core when the mould opens |
| Slides and lifters | Moving cores that form undercuts and side holes |
| Vents | Tiny gaps that let trapped air escape as plastic fills the cavity |
| Mould base | The steel frame that holds everything together and mounts in the machine |
Tools can have one cavity or many, and can make several different parts at once. Our guide to injection moulding tool configurations explains the options.
The tool making process, step by step
Most injection mould tools go through the same six stages, from design review to approved production tool.
1. Design for manufacture review
The toolmaker reviews your part design before any steel is cut. They check wall thickness, draft angles, undercuts, gate location and where the mould will split (the parting line). Many projects also run a mould flow simulation to predict how plastic will fill the cavity and where defects like sink marks might appear. Small changes here are cheap; changes after the tool is cut are not.
2. Tool design
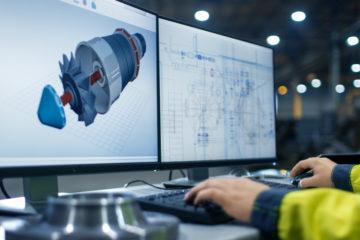
Next, the tool is designed in 3D CAD. The designer lays out the cavities, runner system, cooling channels, ejector positions and any slides. Shrinkage is built in at this stage: plastic shrinks as it cools, so the cavity is made slightly larger than the finished part.
3. Steel selection and mould base
The right tool steel is chosen for the expected volume and material (more on that below), and a standard mould base is ordered or machined.
4. Machining and EDM
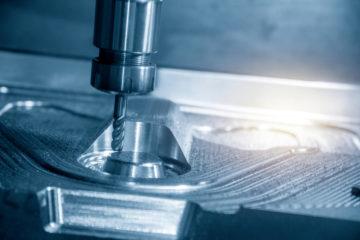
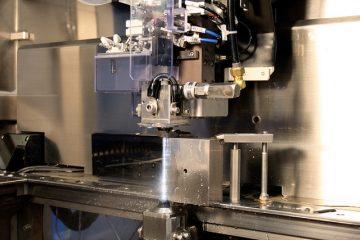
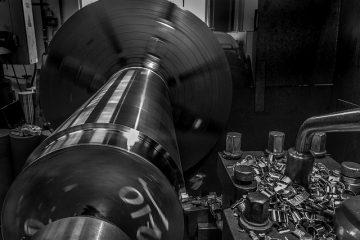
CNC milling roughs out the core and cavity. Hardened steels are then heat treated and finish-machined. Fine details, sharp internal corners and deep ribs that a cutter can’t reach are formed with EDM, which erodes the steel with controlled electrical sparks. Wire cutting is used for precise inserts and through-shapes.
5. Polishing, texturing and fitting
The cavity surface is polished or textured to give the part its finish, from a high gloss to a matte grain. The toolmaker then fits every component by hand, checking that the halves close cleanly, slides move freely and ejectors line up.
6. Trials (T1) and approval
The finished tool is loaded into a moulding machine for its first trial, called T1. Sample parts are measured against the drawing and checked for defects. Usually a few adjustments follow (T2, T3) before the parts are approved and the tool goes into production.
Choosing tool steel
The steel your tool is made from affects its cost, life and the materials it can mould.
| Steel | Hardness | Best for |
|---|---|---|
| Aluminium | Soft | Prototype and low-volume tools; fast and cheap to machine but wears quickly |
| P20 | Pre-hardened | The common choice for medium volumes; easy to machine and modify |
| H13 | Hardened | High volumes and abrasive materials such as glass-filled plastics |
| Stainless (420) | Hardened | Clear parts, medical products and corrosive plastics like PVC |
For a deeper look, read Let’s talk about tool steel.
How much does an injection mould tool cost?
Tool cost depends on the part, not just its size. The main drivers are:
- Part complexity: undercuts need slides or lifters, which add design and machining time
- Number of cavities: more cavities cost more upfront but lower the price per part
- Steel choice: hardened steels cost more to buy and machine
- Surface finish: high-gloss polish and textures take extra hours
- Part size and tolerances: larger tools and tighter tolerances need bigger machines and more checking
As a rough guide, a simple single-cavity tool can start in the low thousands of dollars, while a complex multi-cavity tool with slides can run well past $100,000.
Offshore tools are often cheaper upfront, but steel quality, maintenance access and freight can erase the saving. We compare the options in Export vs non-export tooling and explain why a low quote can cost more in The false economy of the cheap tool.
How long does a tool last?
A well-built, well-maintained tool can last for years. Tool life is usually measured in shots (cycles). The industry often uses SPI mould classes as a guide:
| SPI class | Expected life | Typical tool |
|---|---|---|
| 101 | Over 1,000,000 cycles | Hardened steel, very high volume |
| 102 | Up to 1,000,000 cycles | Medium to high volume |
| 103 | Under 500,000 cycles | Medium volume; often P20 |
| 104 | Under 100,000 cycles | Low volume |
| 105 | Under 500 cycles | Prototype |
Regular cleaning, vent clearing and inspection keep a tool running longer. See the importance of injection moulding tool maintenance.
How to work with a toolmaker
A few habits make tooling faster, cheaper and less stressful:
- Involve the toolmaker early. A design review before tooling catches problems while they’re cheap to fix.
- Share real volumes. Your expected annual quantity decides the steel, cavities and budget.
- Agree the finish and tolerances up front. Specify only the tolerances that matter; tight tolerances everywhere add cost.
- Ask who owns the tool. Make sure tool ownership, storage and maintenance are clear in writing.
- Plan for trials. Allow time for T1 samples and small adjustments in your launch schedule.
Dienamics has designed and built injection mould tools in Brisbane since 1997, and we mould the parts too, so the same team is responsible for design, tool and production. [Editor: confirm in-house toolroom wording.] If you’re choosing a supplier, our Brisbane toolmaker buyer’s guide lists the questions to ask, or see our injection moulding services.
Tool making FAQs
What does tooling mean?
Tooling means the custom moulds, dies, jigs and fixtures made to produce a specific part. In plastics, it usually refers to the injection mould.
How long does it take to make an injection mould?
Most production tools take several weeks to a few months, depending on complexity, cavities and trials. Simple tools are faster; multi-cavity tools with slides take longer. [Editor: add Dienamics’ typical lead time.]
How do you design a mould for injection moulding?
Start with a part designed for moulding: even walls, draft on vertical faces, generous radii and as few undercuts as possible. The toolmaker then designs the mould around it, including the parting line, gates, cooling and ejection.
What’s the difference between a toolmaker and a machinist?
A machinist makes parts on machine tools. A toolmaker uses the same machines but also designs, fits and tunes complete moulds and dies, which needs closer tolerances and more problem-solving.
Can a mould be modified after it’s made?
Often, yes. Removing steel (to add material to the part) is usually straightforward. Adding steel back is harder and may need welding or a new insert, so it pays to finalise the design before cutting.
Who owns the injection mould tool?
Usually the customer who pays for it, but terms vary between suppliers. Always confirm ownership, storage and maintenance responsibilities in writing.
Subscribe to Our Newsletter
Get the latest news from Dienamics into your inbox